Are you ready to unleash your creativity and transform plain wooden letters into stunning works of art? Painting wooden letters is not just a fun craft; it’s an opportunity to express your personality and enhance your space.
Whether you’re decorating a nursery, adding a personal touch to your home, or creating a thoughtful gift, the possibilities are endless!
Let your imagination run wild, from vibrant colors and playful patterns to elegant designs and inspirational quotes. Dive into the world of wooden letters and discover how to make your vision come to life!
Preparing the Wooden Letters
To paint your wooden letters, you’ll need to make some preparations. Start by sanding the letters to ensure a smooth surface, which will make your paint job look more polished.
Next, apply primer to help the paint adhere better and last longer.
Sand the Surface for a Smooth Finish
First, select the wooden letter in the style and font you like. Sanding the surface of your wooden letters is a crucial step in ensuring a smooth, professional finish.
Begin by lightly sanding and prepping the letters using 220-grit sandpaper. Always sand in the direction of the wood grain to avoid visible marks.
This process removes imperfections and prepares the surface for paint application.
Prime the Letters for Better Paint Adhesion
After achieving a smooth finish through sanding, it’s time to prime the wooden letters for better paint adhesion.
Apply primer generously to the edges and surfaces, ensuring full absorption. Let it dry completely before painting. Sand the edges again with fine-grit sandpaper for a smooth surface.
Proper priming enhances paint longevity, reducing the chances of chipping and peeling.
Choose the Right Type of Paint
It’s crucial to choose the right type of paint to achieve the best results:
- Latex Paint: Low VOC content, quick drying time, and easy cleanup.
- Acrylic Paint: Quick-drying and easy to clean, available in many colors.
- Craft Paint: Versatile and designed for various surfaces, including wood.
- Chalk Paint: Provides a matte, vintage finish with minimal prep.
- Spray Paint: Offers smooth application; ensures it’s suitable for wood.
- Enamel Paint: Durable with a hard, glossy finish, ideal for frequently handled items.
Techniques for Painting Wood Letters
When you’re ready to paint your wood letters, explore various techniques, such as brush painting, spray painting, stenciling, or decoupage.
Brush Painting
A high-quality paintbrush ensures optimal coverage and a smooth finish. Apply a light coat of paint, let it dry, then add more coats as needed.
Explore techniques like stippling or dry brushing to add texture. These methods enhance your home decor with personalized, professional-looking results.
Spray Painting
Spray painting offers a quick and efficient alternative for covering wooden letters. Hold the spray paint can about 6-8 inches away and move slowly, back and forth. Apply multiple light coats to avoid dripping and ensure even coverage.
Remember to let each coat dry for at least 30 minutes before adding another.
Stenciling
Curious about how to achieve crisp, professional designs on your wooden letters? Start by securing your stencil with painter’s tape.
Use a pouncer or foam brush to paint through the stencil, ensuring clean edges. Apply the paint in light layers, letting each dry before adding more.
After removing the stencil, touch up any details with a small brush for perfect results.
Decoupage
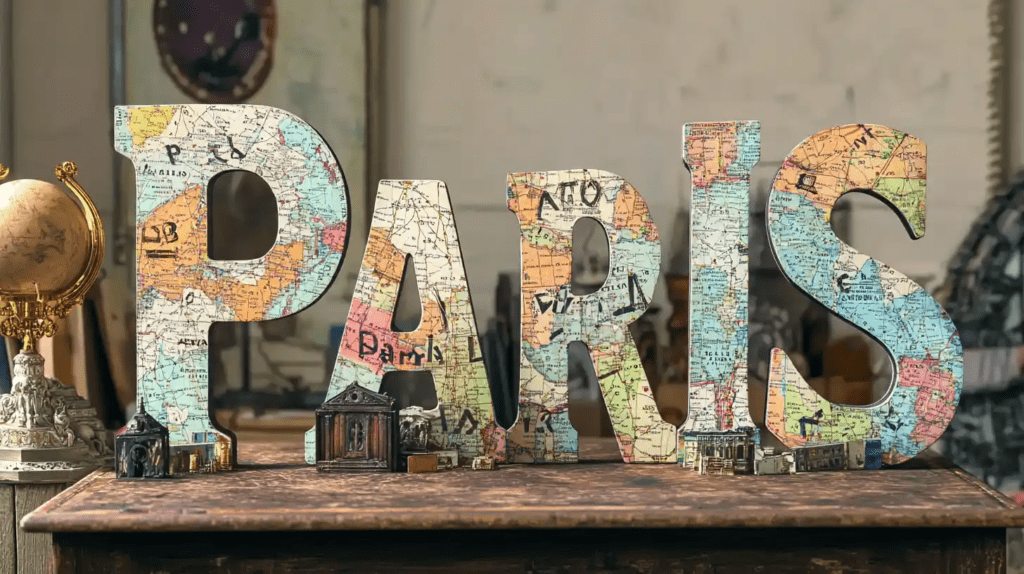
Decoupage offers a creative way to transform plain wooden letters into personalized art pieces.
Start by cleaning and lightly sanding the wooden letters. Then, apply the decoupage medium with a foam brush and place your paper cutouts.
Seal the design with additional layers, letting each one dry completely.
Experiment with different papers to create unique textures and visual effects in your design.
What to Paint on Wooden Letters: 12 DIY Letter Ideas
When it comes to painting wooden letters, you can explore a variety of design ideas.
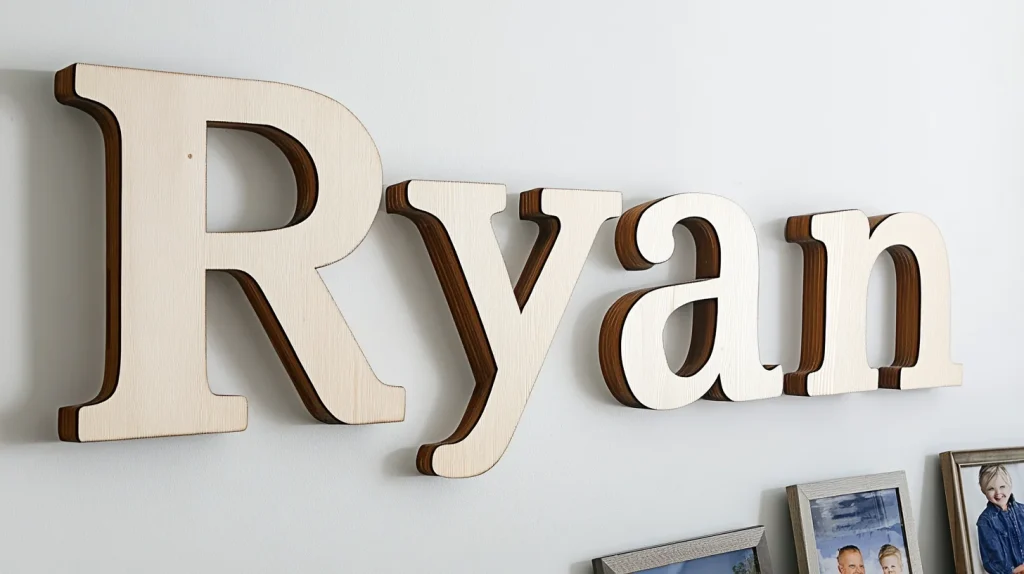
1. Solid Colors

How can you achieve a clean, modern look with your wooden letters?
Start by choosing solid colors for a crisp finish. Wooden letters in bold paint colors can make a striking statement in kids’ rooms or any space.
Use lighter or neutral base colors to enhance vibrancy, and consider a glossy or matte finish to further personalize the look.
2. Ombre Effect

Achieving an ombre effect on wooden letters can transform them into eye-catching decor pieces that add depth and visual interest to any room.
To paint wood letters with this technique, use quality latex paint and start with the lighter color at the top, blending into a darker shade towards the bottom.
A damp brush helps merge the colors smoothly, creating stunning decor ideas.
3. Color Blocking
After mastering the ombre effect, you might want to explore the bold and striking technique of color blocking.
Use painter’s tape to divide the letters into geometric sections. Apply contrasting colors for a visually appealing design.
Experiment with bright and neutral tones to create unique decorative pieces that stand out and complement your existing decor.
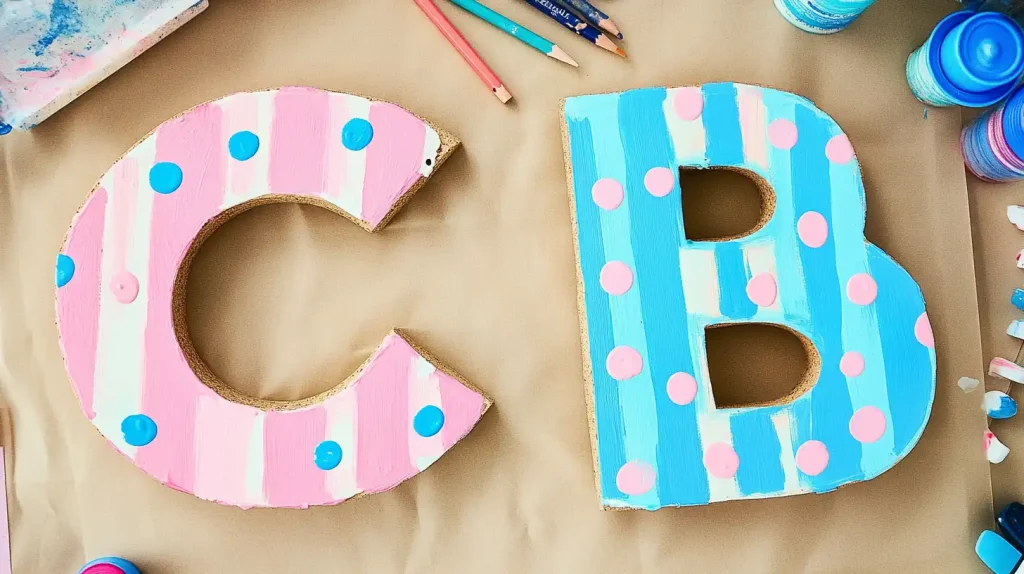
4. Various Patterns

Exploring various patterns for wooden letters can breathe new life into your decor.
Try playful polka dots using pencil erasers, or add character with freehand stripes. Create visual depth with an ombre effect, blending colors seamlessly.
Geometric patterns like triangles or chevrons offer a modern touch, while themed designs—whether nautical or holiday-inspired—can make your letters uniquely personal and fitting for any occasion.
5. Floral Designs

For a more delicate and artistic approach, floral designs can beautifully complement wooden letters.
Use a mix of colors to add depth, from pastels to bold hues. Incorporate flowers like roses and daisies for vibrancy, and add greenery for balance.
Whether you paint freehand or use stencils, these personalized touches will make your letters stand out and showcase your creativity.
6. Nautical Themes

Transforming wooden letters with a nautical theme can bring a touch of the ocean to your decor.
Paint your letters in ocean-inspired colors like deep blues and sandy beiges. Using stencils, add designs like anchors or starfish.
Enhance the beach-themed look with sponging techniques to mimic waves and glue on rope or seashells for a textured, three-dimensional effect.
7. Animal Prints

When painting wooden letters with animal prints, first select a base color that represents the animal’s fur or skin, like brown for a leopard or yellow for a tiger.
Use a sponge or brush to apply irregular shapes or spots in a contrasting color.
Add details with a fine brush for precision.
Finish with a clear sealant to protect and enhance your design.
8. Galaxy Design

After exploring the animal prints, let’s turn our attention to the mesmerizing galaxy design.
Start by painting your wooden letters with a dark base coat. Follow a tutorial to blend lighter colors like purple and teal with a sponge.
Add star details using a small brush, and don’t forget to sprinkle some glitter for added sparkle.
9. Mosaic Style

For a vibrant and textured design, consider painting your wooden letters in a mosaic style.
Start with a base coat, then use varied paint colors to create distinct sections. For added complexity, incorporate shapes like triangles or squares.
Experiment with colors to make your letters truly unique.
10. Cultural Patterns
Infusing wooden letters with cultural patterns can transform them into striking pieces of art that celebrate diverse heritages.
For visually engaging designs, try using geometric patterns inspired by African or Native American art. Incorporate Asian calligraphy or floral elements for a serene look. Indian henna art offers intricate detailing.
Thoughtful color schemes reflective of different cultures can make your wooden letters truly meaningful.
11. Seasonal Themes

Embrace the spirit of the seasons by painting wooden letters in colors and patterns that reflect the time of year.
Use seasonal colors like warm reds for autumn or vibrant pastels for spring. Add designs such as snowflakes or pumpkins to enhance the festive spirit.
Create seasonal words like “FALL” to complement your home decor, making each piece a unique focal point.
12. Holiday Themes

Dive into the spirit of the holidays by painting wooden letters that capture the essence of each festive occasion.
Embrace holiday themes with vibrant seasonal colors and festive designs like snowflakes or pumpkins. To enhance the decor, create personalized messages such as “Joy” or “Love.”
Use different textures and finishes like glitter or metallics, and employ layering techniques for added visual interest.
Tips for a Professional Finish
Follow these simple tips to achieve a professional finish on your DIY painted wood letters.
Use Thin Coats of Paint
When painting wooden letters, using thin coats of paint is essential for achieving a professional finish.
Use a paintbrush to apply thin coats to paint the letters evenly. This helps prevent drips and ensures an even finish.
Remember to allow each coat to dry completely. By using thin coats, you’ll achieve a smooth look and maintain the wood’s natural texture.
Allow Proper Drying Time Between Coats
After applying those thin coats of paint, it’s important to give each layer enough time to dry completely.
Waiting at least 30 minutes between coats of paint prevents drips and ensures a smooth, professional-looking finish. Rushing this process can lead to an uneven texture or bubbling.
Seal the Painted Letters for Protection
Sealing your painted wooden letters ensures they remain vibrant and durable over time.
Apply a water-based top coat to create a protective layer against scratches and moisture. Make sure the paint is fully dry before sealing.
For outdoor use, choose a sealant specifically designed for exterior conditions.
Conclusion
To create stunning personalized decor, carefully prepare your wooden letters and explore various painting techniques and design ideas.
Don’t be afraid to try different styles, whether it’s a solid color, ombre, or a thematic design. Remember, paying attention to detail and achieving a professional finish will make your letters stand out.
Embrace your creativity; soon, you’ll have beautiful wooden letters that add a vibrant touch to any space. Happy painting!

