Transforming your nursery into a whimsical haven is just a brushstroke away! Painting wooden letters can add a personal touch to your little one’s space, making it warm and inviting.
Whether you’re spelling out names, favorite quotes, or playful words, this creative project is a beautiful way to showcase your personality and style.
Grab your paintbrushes and let your imagination soar as we guide you through the delightful process of painting wooden letters for your nursery!
Key Takeaways
- Sand letters with medium, then fine-grit sandpaper for a smooth painting surface.
- Apply primer coats for better paint adhesion and durability.
- Use multiple light coats of paint colors for an even, smooth finish.
- Sketch designs lightly with pencil and use fine-tipped brushes for detailed patterns.
- Seal-painted letters with a clear coat for protection and longevity.
Materials Needed
You’ll need a few key materials to start painting wooden letters for a nursery.
- First, gather unpainted wooden letters, which serve as your primary canvas.
- Choose acrylic paint and spray paint in your desired colors.
- Sandpaper is essential to prep the wood surfaces and edges, ensuring better paint adhesion.
- You’ll also need paint brushes and rollers for even application.
- Finally, don’t forget a clear sealant. This protective layer will keep your painted letters durable and looking fresh.
A Tutorial on How to Paint Wooden Letters for Nursery

Now that your materials are ready, let’s walk through the step-by-step process of painting your wooden letters.
Step 1: Choose the Right Wooden Letters
When selecting wooden letters for your nursery, there’s much to consider to ensure the best results.
Choose wooden letters made from durable materials like MDF or solid wood. For full customization, opt for unpainted wood letters.
For stability, ensure that the letters are at least 0.5 inches thick. Also, check that they’re free from any finishes or coatings that might interfere with paint adhesion.
Additionally, consider the size to ensure they fit well in your intended display area.
Step 2: Sand the Wooden Letters
Before painting, sand the wooden letters to ensure a smooth and professional finish. Use medium grit sandpaper to smooth the surfaces and edges. Focus on sanding any areas with visible imperfections or splinters.
Then, switch to fine-grit sandpaper to achieve a smooth finish. Wipe the sanded letters with a damp cloth to remove dust or debris.
Make sure they’re completely dry before proceeding.
Step 3: Apply Primer
Applying primer is a crucial step to ensure your paint adheres well and lasts longer. Generously apply primer to the edges of your letters. Allow the primer to fully dry according to the manufacturer’s instructions.
Once dry, lightly sand the edges to smooth out any rough spots and achieve a flawless finish.
For enhanced durability and improved color depth, consider applying a second coat of primer.
Step 4: Paint the Letters
With the primer dry and the surface smooth, it’s time to paint the wooden letters.
Apply a light coat of paint using a small paint roller. To avoid drips, initially cover only part of the letters. Allow this first coat to dry completely.
Use a paintbrush to paint the edges for even coverage. Repeat this process, aiming for approximately four light coats to achieve an optimal finish.
If you prefer, you can use spray paint for a smoother look, but make sure to cover all edges thoroughly.
Once the final coat is dry, your wooden letters are ready.
Step 5: Add Designs (Optional)
Adding designs to your painted wooden letters can give them a personalized touch that stands out.
Start by lightly sketching your desired pattern with a pencil. Use a paintbrush or paint marker to fill in the designs with contrasting colors. For a whimsical effect, consider using stencils to create shapes or letters that complement your nursery’s color scheme.
Experiment with other techniques, such as sponging or dry brushing, to make the letters more dynamic.
Step 6: Seal the Letters
Once your designs are completely dry, it’s time to seal the wooden letters to protect your hard work.
Based on your desired look, choose a clear coat sealant with a matte, satin, or glossy finish. Apply the sealant evenly with a clean brush or spray.
Follow the drying time between coats. Proper sealing will keep your nursery letters looking beautiful for years to come.
Step 7: Hang the DIY Letters
Arrange the letters on the floor first to visualize the layout and adjust the alignment. Once you’re satisfied, clean and dry the wall surface to ensure better adhesion.
To hang the letters, use adhesive strips, like Command strips. Apply the strips to the back of each letter and press firmly against the wall for stability.
Step back to check the arrangement and make any necessary adjustments.
Check the mounted letters regularly for stability and wear. If needed, touch them up to maintain their appearance over time.
Painting Ideas for Nursery Wooden Letters

Now that you’ve mastered the basics, let’s explore some creative ideas to decorate your letters.
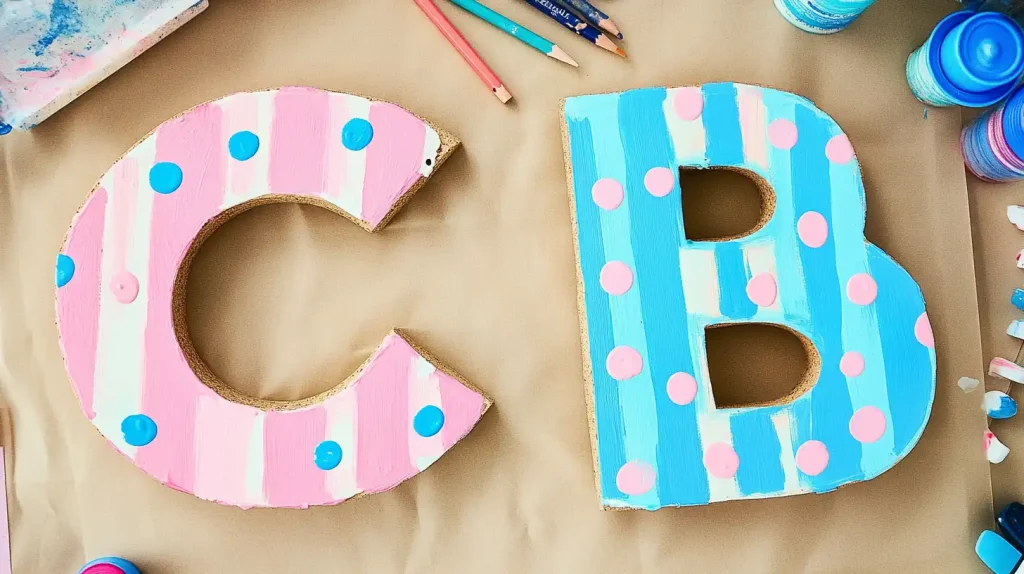
- Pastel Colors: Soft pinks, blues, and yellows for a calming effect.
- Animal Themes: Paint letters with animal faces or patterns.
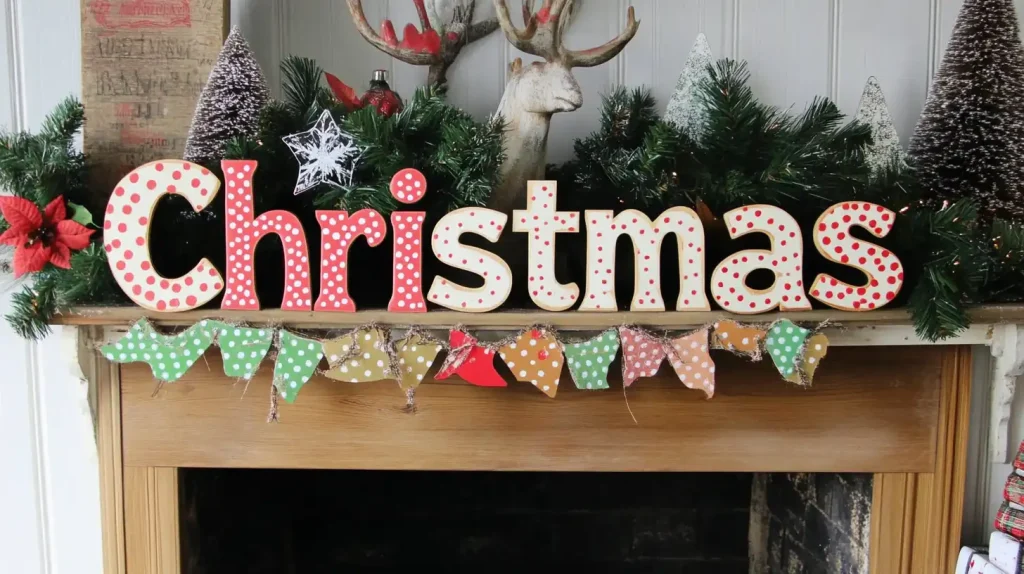
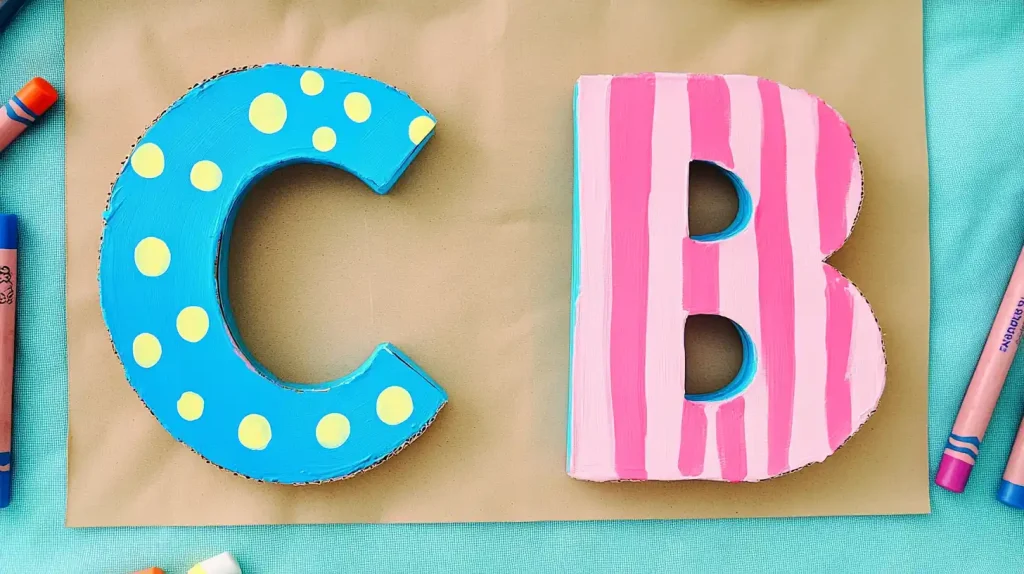
- Polka Dots: Use bright or contrasting colors for a playful look.
- Stripes: Horizontal or vertical stripes in various colors.
- Ombre Effect: Gradual transition from one color to another.
- Nature-Inspired: Leaves, trees, or floral designs.
- Metallic Accents: Gold, silver, or bronze touches for a chic finish.
- Alphabet Blocks: Mimic the look of classic wooden alphabet blocks.
- Stars and Moons: Celestial theme with stars, moons, and clouds.
- Chalkboard Paint: Allows for changeable drawings and messages.
- Name Initials: Personalize each letter with the child’s name.
- Patterned Paper: Decoupage with fun patterned paper or fabric.
Conclusion
Following these steps, you’ll create beautifully DIY painted wood letters that add a personal touch to your nursery.
Whether you add ombre effects, animal faces, or metallic accents, these personalized letters will stand out. Finally, securely mount them on the wall to complete your nursery’s look. Enjoy the process and the lovely results!
FAQs
What Kind of Paint Do You Use on Wooden Letters?
You should use latex or acrylic paint for wooden letters. Both types offer smooth application and vibrant colors. Latex paint is low in VOCs and quick-drying, while acrylic is great for detailed designs. Choose based on your project needs.
How Do You Paint Wooden Letters With Acrylic Paint?
To paint wooden letters with acrylic paint, first sand and clean the letters. Apply a base coat if needed, then use a foam brush to apply your chosen color evenly. Let each coat dry before adding the next.
Can I Spray Paint Wood Letters?
Yes, you can spray paint wood letters. First, prep the edges and use high-quality spray paint. Then, apply multiple thin coats, keeping each layer at a distance of 6-8 inches, and let each layer dry completely.


