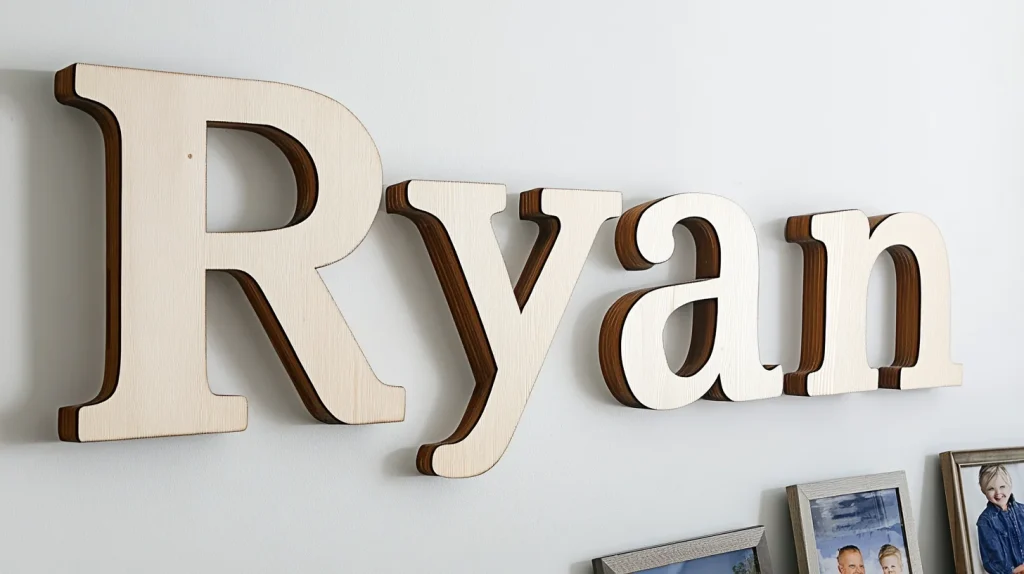
Transforming your space with wooden letters is a fantastic way to express your personality and style. Whether you want to spell out a favorite quote, your family name, or a warm welcome, hanging wooden letters on your wall can add a unique touch to any room.
With a few simple steps and creative flair, you can turn a blank wall into a stunning focal point that inspires and uplifts. Let’s dive into the exciting process of showcasing your wooden letters and making your walls come alive!
Key Takeaways
- Use a tape measure and level to mark precise letter placement on the wall.
- Clean both the wall and letters to ensure proper adhesion or secure attachment.
- Choose appropriate hanging methods like nails, screws, adhesive strips, or Command hooks based on the letter’s weight.
- Regularly inspect and adjust letters for proper alignment and stability.
Preparation Before Hanging Wall Letters
Before hanging your wooden letters, choose the perfect spot on the wall that complements your decor.
Measure and mark the placement of each letter to ensure accurate alignment.
Ensure the wall is clean and debris-free for a secure attachment.
Choose the Location
Choosing the perfect spot to hang your wooden letters is crucial for maximizing their visual impact. Start by identifying the best location on the wall, considering the room’s overall layout. Measure the area to ensure the letters fit well and will enhance the visual appeal.
Measure and Mark the Placement
Now that you’ve chosen the perfect spot for your wooden letters, it’s time to accurately measure and mark their placement. Start by using a tape measure to determine the exact spacing between each letter.
Lay the letters on the floor to visualize the arrangement and make any necessary adjustments. Once satisfied, lightly mark the top center edge of each letter on the wall with a pencil.
For precise alignment, use a laser level or bubble level to ensure your marks are straight and evenly spaced. Double-check the alignment and spacing of your marks before proceeding.
Clean the Wall
A clean wall is essential for hanging wooden letters securely and ensuring they stay put over time.
Begin by wiping down the wall with a damp cloth to remove any dust, dirt, or grease. This step creates a clean surface that improves adhesion. After cleaning, allow the wall to dry completely to prevent moisture from compromising the adhesive.
Inspect the wall closely for any imperfections or debris that could interfere with the placement of your letters. Also, clean the wooden letters’ back to enhance their bonding surface.
How to Hang Wooden Letters on Wall: 3 Effective Methods
To hang wooden letters on your wall, you can choose from various methods like using nails or screws, adhesive strips, and command hooks.
Each method has its own benefits, so pick the one that suits your style and the weight of your letters.
Method 1: Nails

When deciding on a method for hanging wooden letters, consider the weight and size of the letters. Nails are often sufficient for smaller, lighter letters.
- Start by marking the wall with a pencil where each letter will go.
- Next, drill holes in the back of the letters according to your wall marks to ensure accurate placement.
- Hammer nails into these marked wall points, leaving enough nail exposed to hang the letters securely.
- Carefully hang the letters on the nails and adjust their positions to maintain even spacing and alignment.
Ensure each letter is straight and firmly attached to the wall for a professional look.
Method 2: Adhesive Strips

Before hanging wall letters with hanging strips, ensure you’ve cleaned the back of the wooden letters and the wall. This ensures proper adhesion.
Choose adhesive strips that match the weight of your wooden letters. For smaller letters, cut the adhesive strips vertically to fit better.
Align the letters with lightly marked corners on the wall, then press firmly to activate the adhesive.
These strips offer damage-free removal. This easy way allows you to hang wood letters easily and reposition them if needed.
Method 3: Ribbons or Strings

Adding a decorative touch to your wooden letters with ribbons or strings can elevate your wall display effortlessly.
Cut a piece of ribbon twice the length of the distance between your wall marks, adding 1-2 inches for secure attachment.
Secure the ribbon to the back of the letters using hot glue, ensuring even spacing for proper hanging. Create a loop with the ribbon ends, press it onto the glue, and let it dry for 1-2 minutes.
Mark the wall for both the letters and ribbons for accurate placement. For a discreet alternative, use a clear fishing line, which provides an “invisible” effect while securely supporting the letters.
These decorative options will make your display both functional and stylish.
Finishing Touches
Once you’ve hung the wooden letters, make any necessary adjustments for a polished look.
For an extra touch, consider adding decorative elements like framed photos or wall art around the letters to enhance the overall aesthetic.
Make Necessary Adjustments
Even if everything seems perfect at first glance, it’s essential to make any necessary adjustments to ensure your wooden letters look their best.
Step back and inspect the alignment to ensure each letter is straight and evenly spaced. Use a level to double-check, and gently reposition the letters to adjust any tilting.
Regularly inspect the stability of each letter, confirming they’re securely attached to the wall. If you used adhesives, lightly tug on the letters to ensure they’re firmly in place.
Make these adjustments now to prevent future mishaps and to achieve a polished and professional look.
Optional: Add Decorative Elements

To really make your wooden letters pop, think about adding some decorative elements around them.
Consider placing framed photos or artwork nearby to create a cohesive and inviting display. Adding greenery, like small potted plants or wall-mounted planters, can bring a touch of nature and enhance the aesthetic appeal.
String or fairy lights wrapped around the letters add a whimsical touch and create a warm, inviting atmosphere.
Wall decals or stencils can serve as background elements, adding depth and visual interest behind the wooden letters.
You can even craft DIY letters using painting to further enhance the overall design of your wall.
Conclusion
Once you’ve hung your wooden letters, step back and take a good look. Ensure everything is level and spaced just right. Don’t hesitate to make any small adjustments if needed. Adding a few decorative elements around the letters can enhance the overall look.
With these final touches, your wall will have a personalized and stylish display you can be proud of. Enjoy your beautifully arranged wooden letters!
FAQ
What Is the Best Way to Hang Wooden Letters on a Wall?
You should use adhesive strips for lightweight wooden letters and nails or screws for heavier ones. Ensure you align them properly using a template or laser level and clean surfaces before application for a neat, durable display.
How to Attach Wood to a Wall Without Nails?
You can use adhesive strips like Command strips, which don’t damage walls and are easy to remove. Alternatively, Velcro strips or clear mounting tape work well for lightweight wood, offering secure, non-invasive options for wall attachment.
How to Hang Letters on a Wall Evenly?
To hang letters evenly on a wall, start by arranging them on the floor. Use tape to mark a straight line, drill holes for nails at the marked points, and hang the letters. Adjust as needed.


