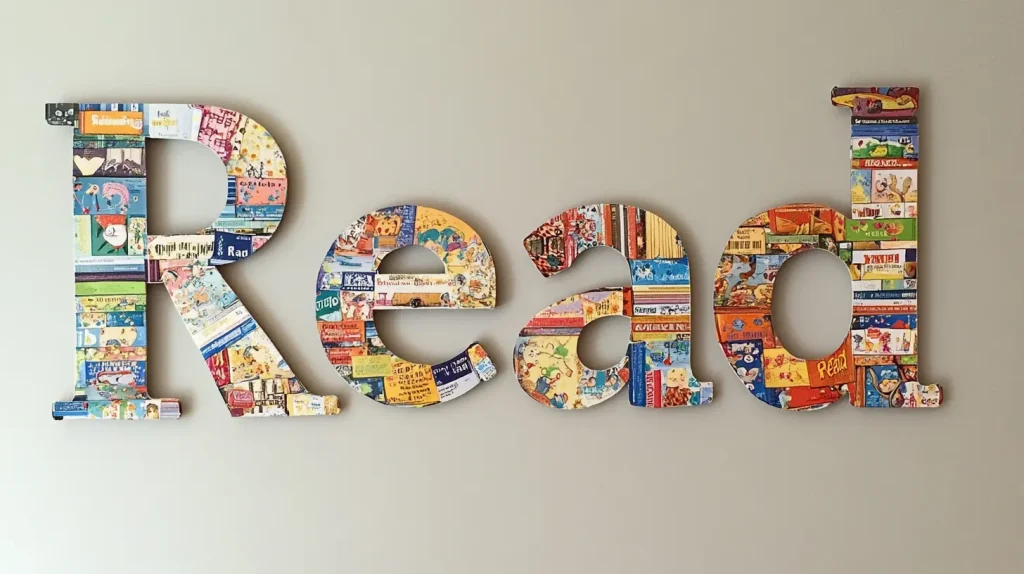
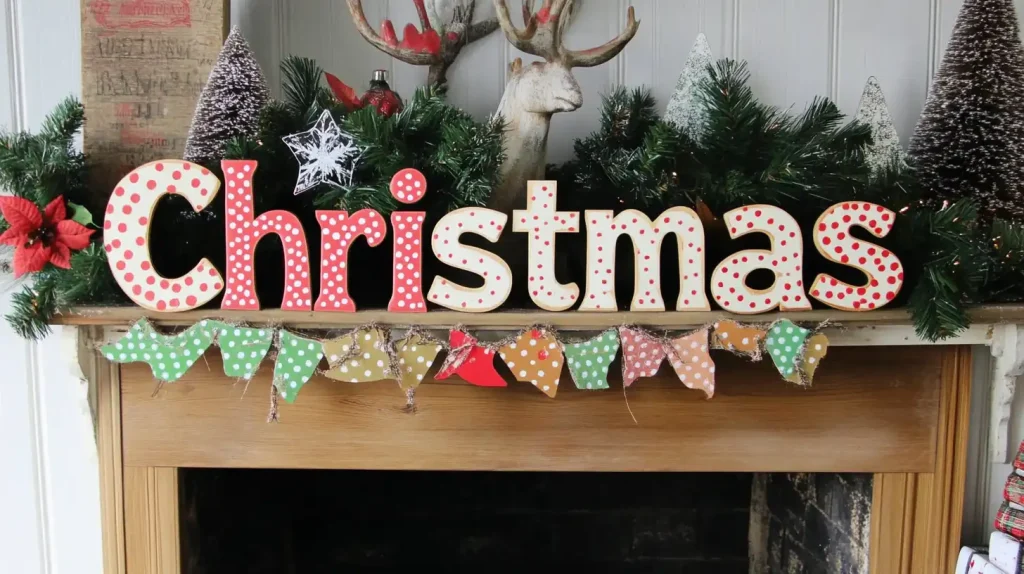
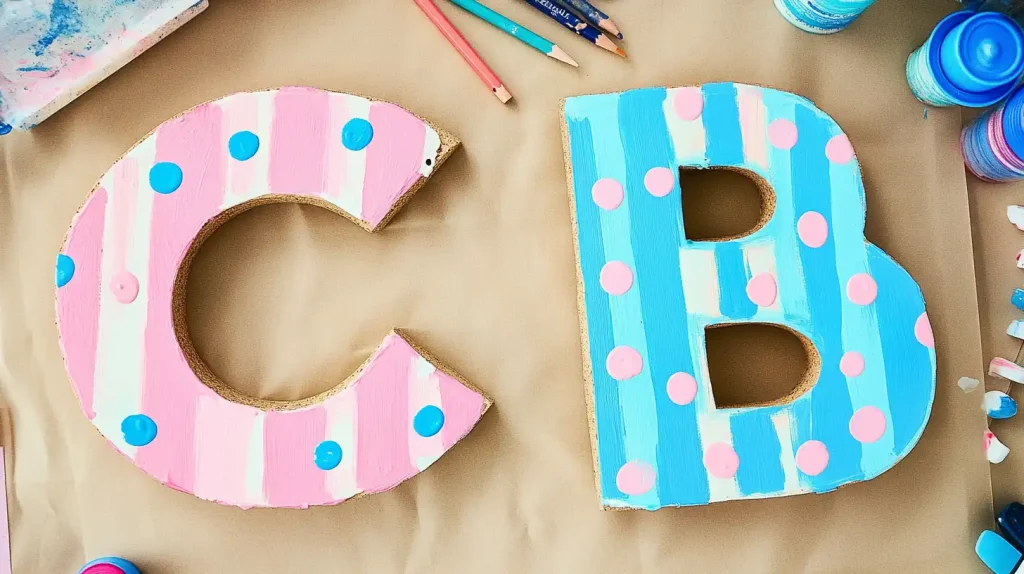
Are you ready to unleash your creativity and transform ordinary wooden letters into stunning works of art? Decoupage is a delightful and accessible craft that allows you to personalize your space with unique designs and vibrant patterns.
Whether you’re decorating for a special occasion or simply looking to add a touch of charm to your home decor, decoupaging wooden letters is a fun and rewarding project. Let’s dive into the world of decoupage and discover how to bring your artistic vision to life!
Key Takeaways
- Sand and paint the wooden letter for a smooth base.
- Trace and cut decorative paper or fabric to match the letter’s shape.
- Apply Mod Podge to adhere and seal the decorative paper or fabric.
- Smooth out air bubbles and ensure even coverage.
- Allow layers to dry completely between applications for a durable finish.
Gather the Materials Needed
To get started with your decoupage project, you’ll need a few essential materials:
- Wooden letter: Choose the size and font that you prefer.
- Decoupage glue or Mod Podge: Acts as both a glue and a sealer.
- Decorative paper or fabric: Scrapbook paper, tissue paper, or napkins work well.
- Scissors: For cutting out shapes or trimming paper to fit the letter.
- Sandpaper: To smooth out any rough edges on the wood letter.
- Paintbrush or foam brush: For applying the decoupage glue.
- Craft knife: For precise cutting and trimming around edges.
- Acrylic paint (optional): If you want to paint the letter before decoupaging.
- Sealer (optional): To add extra protection to the finished piece.
With these materials, you’re ready to begin.
How to Decoupage a Wooden Letter: An Easy Tutorial

Now that your materials are ready, let’s follow the step-by-step instructions for decoupaging wooden letters using Mod Podge.
Step 1: Prepare the Wooden Letter
Begin by selecting a wooden letter that matches the size and shape you want for your project.
Then, use a sanding block or sandpaper to smooth the surface, removing rough edges. This step ensures better material adhesion.
Next, apply a coat of mineral paint, such as sage or coal black, thoroughly covering all visible areas and edges. Let the paint dry completely, providing a stable base for your decoupage paper.
Step 2: Select and Cut Decorative Paper
Select decorative paper that complements your theme; scrapbook paper or fabric works well.
Lay the letter and trace the letter onto the decorative paper with a pencil to ensure precise sizing. Cut the paper slightly smaller than the wooden letter to create a clean white border effect.
For intricate designs, cut strips of coordinating paper to fit the edges and curves.
Step 3: Apply the Decoupage Medium
First, use a paintbrush to apply a thin coat of Mod Podge on the wood surface directly. Ensure even coverage, avoiding excess.
Carefully position your cut-out decoupage paper onto the letter, pressing it down gently. Using your fingers or a brayer, smooth out any wrinkles or air bubbles.
Let the initial layer of Mod Podge dry for 20-30 minutes.
Step 4: Seal the Surface
Now that your paper is securely adhered, it’s time to seal the surface to protect your design.
Apply a thin layer of Mod Podge onto the entire surface of your wooden letter. Ensure you spread the Mod Podge evenly to avoid excess glue and bubbling. Allow this first layer to dry for about 30 minutes.
For added durability, apply a second layer of Mod Podge. For a glossy finish, consider a third layer or a clear acrylic sealer.
Let your letter dry completely for at least 24 hours before handling.
Step 5: Add Embellishments (Optional)
Adding embellishments can give your decoupaged wooden letter a unique and personalized touch.
Use decorative elements like ribbons, buttons, or gems to enhance its visual appeal. Experiment with different placements and combinations to achieve your desired aesthetic.
Once you’ve attached all your embellishments, allow them to dry completely.
Step 6: Finishing Touches
To achieve a polished and professional look, snip the corners to create clean edges.
After that, use an emery board to carefully sand away any excess paper and dried glue for a smooth finish.
Use a rolling pin as a brayer to smooth out the paper and eliminate any air bubbles.
Decor Ideas for Decoupaging Wooden Letters

When you’re looking to create DIY decoupage wooden letters, consider diving into the vibrant DIY decor ideas:
- Vintage Look: Use old book pages, sheet music, or vintage maps for a classic feel.
- Floral Patterns: Choose floral scrapbook paper for a feminine touch.
- Monochrome: Stick to black and white patterns if you prefer a modern and sleek look.
- Holiday-Themed: Use holiday-themed paper and embellishments for seasonal decor.
- Quotes and Words: Decoupage letters that form inspirational words or phrases.
- Mixed Media: Combine different textures and materials such as fabric, lace, or burlap along with the paper for an eclectic look.
Conclusion
By following these steps, you’ll create a beautifully decoupaged wooden letter that showcases your creativity. Whether you’re making a personalized gift or adding a seasonal touch to your decor, the possibilities are endless.
Remember to take your time and enjoy the process. Your finished piece will be a unique and eye-catching addition to any space. So, gather your materials and get started on your next crafting adventure!
FAQs
How to Modge Podge on Wooden Letters?
First, sand the wooden letters for a smooth finish. Apply Mod Podge to the wood and paper. Attach the paper, smooth out wrinkles, and let it dry. Seal with another Mod Podge layer, then dry completely.
How to Decoupage a Letter?
To decoupage a letter, you’d start by sanding it smooth, then apply a base coat of paint. Cut your paper to fit, adhere it with Mod Podge, and seal with another coat. Dry it using a heat gun.
Can You Mod Podge Paper Onto Wood?
Yes, you can use Mod Podge to adhere paper onto wood. It acts as both an adhesive and sealant, ensuring a strong bond and a finished look. Just make sure to prepare the wood surface properly for the best results.


