Unleash your creativity and transform your space with the charming allure of decorated wooden letters! Whether you want to customize a kid’s room, add flair to your office, or create a stunning focal point in your living room, these versatile pieces offer endless possibilities.
With a little imagination and some simple supplies, you can turn plain wooden letters into vibrant works of art that reflect your unique style. Let’s dive into the inspiring world of decorating wooden letters and discover how to make your vision come to life!
How Decorate Wooden Letters? 20+ Inspiration
Here’s a list of various DIY ideas for decorating your wooden letters. Each idea brings a unique touch to your home decor. Let’s start exploring the exciting decor world!
1. Painting

To paint wood letters, first sand them smooth and apply a primer. Once prepped, use acrylic paint to apply 2-3 coats of high-quality metallic paint for a vibrant, eye-catching finish. Use fine paintbrushes for the best aesthetic appeal.
After painting, apply a water-based top coat to seal and protect the decorative letters. This will ensure durability and enhance the overall design.
2. Stenciling

Stenciling offers another layer of creativity to make your design truly unique.
- Choosing a stencil that fits your letters perfectly.
- Secure the stencil with painter’s tape to prevent any movement.
- Use a sponge or stencil brush to apply paint lightly.
- Next, carefully lift the stencil and allow it to dry completely.
- Finally, apply a clear sealant to protect your stenciled design.
3. Decoupage

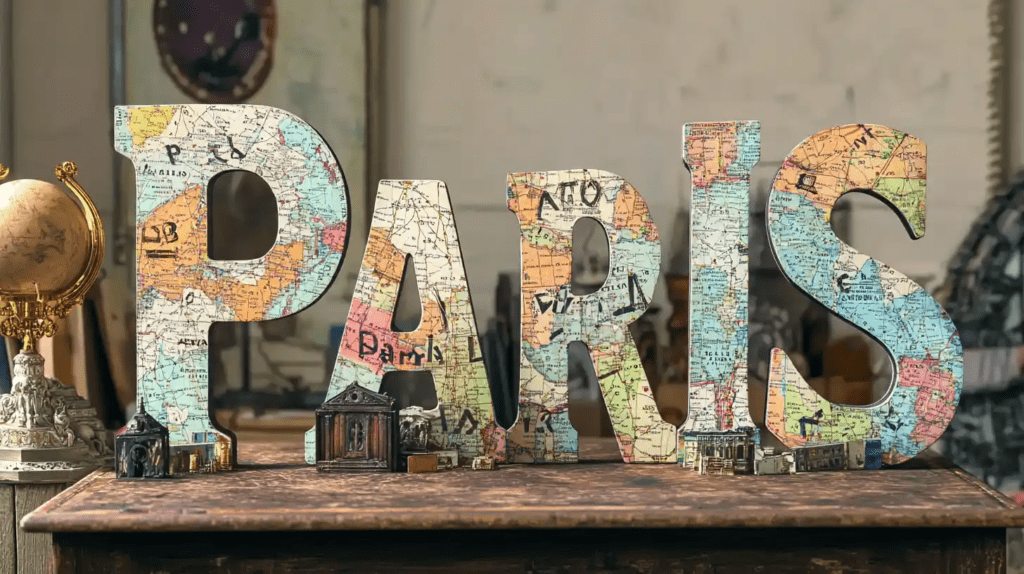
Decoupage offers a fantastic way to bring wooden letters to life with vibrant patterns and textures.
Select your favorite decorative papers, like tissue or scrapbook paper. Then, use Mod Podge to position the papers on top. Smooth any wrinkles, and add another layer of medium to secure them.
For added flair, experiment with rough cutting for a distressed look or use stencils.
4. Ombre Effect

Achieving an ombre effect on wooden letters adds a stunning gradient look that seamlessly blends colors from light to dark.
- Start by picking 2-3 complementary paint colors.
- Apply a base coat of the lightest paint and let it dry completely.
- Next, add darker colors and ensure smooth transitions without harsh lines.
- For added depth, layer a clear gloss or matte finish on top of the ombre paint.
5. Chalkboard Paint

Transforming wooden letters with chalkboard paint offers a unique and functional twist to your decor.
Chalkboard-painted wooden letters are perfect for various display settings like walls, desks, or event decorations. They offer a versatile and interactive way to leave customizable messages and designs, adding a personal touch to any space.
6. Glow-in-the-Dark Paint

Adding a glow-in-the-dark effect can create a captivating and playful element in your decor.
For a brighter and longer-lasting glow, apply multiple coats, letting each layer dry thoroughly.
To enhance the design, consider combining glow-in-the-dark paint with other colors for a striking contrast that stands out in both light and dark settings.
7. Distressing and Antiquing

To give your wooden letters a charmingly aged look, first lightly sand the surface to mimic natural wear.
Apply a base coat of paint to create a solid foundation. Once dry, use a darker wash to enhance the antiquing effect, allowing the base color to peek through.
For an aged appearance, use gel stains and wax. The wax adds a subtle sheen and protects the surface.
Finally, apply a matte sealer to unify the design and safeguard the distressed finish from damage.
8. Mosaic

Creating a mosaic on wooden letters adds a vibrant and textured element to your decor.
- Select small decorative materials like tiles, glass pieces, or broken ceramics.
- Clean your letter and consider a base coat of paint for contrast.
- Use a strong adhesive like a gel medium to secure the mosaic pieces.
- Fill any gaps with grout or additional adhesive for a cohesive look.
- Allow the adhesive to dry completely.
- Finally, seal the mosaic with a clear top coat to protect your design.
9. Washi Tape

Washi tape offers a simple yet creative way to decorate wood letters with vibrant patterns and designs.
- Select different widths and colors of washi tape to add depth and visual interest.
- Apply strips of tape in various orientations to create a playful look. Don’t forget to decorate the sides.
- To achieve clean edges, trim the tape with a craft knife.
- Finally, apply a layer of clear sealant or mod podge to ensure durability.
10. Stickers and Decals
Enhancing your wooden letters with stickers and decals adds a personal touch and vibrant detail.
Choose stickers and decals that resonate with your style to personalize your letters uniquely.
Layer stickers of varying sizes and designs to create depth and visual interest.
After arranging your stickers and decals, apply a clear sealant to protect them from wear and maintain their vibrant colors.
11. Photo Collage
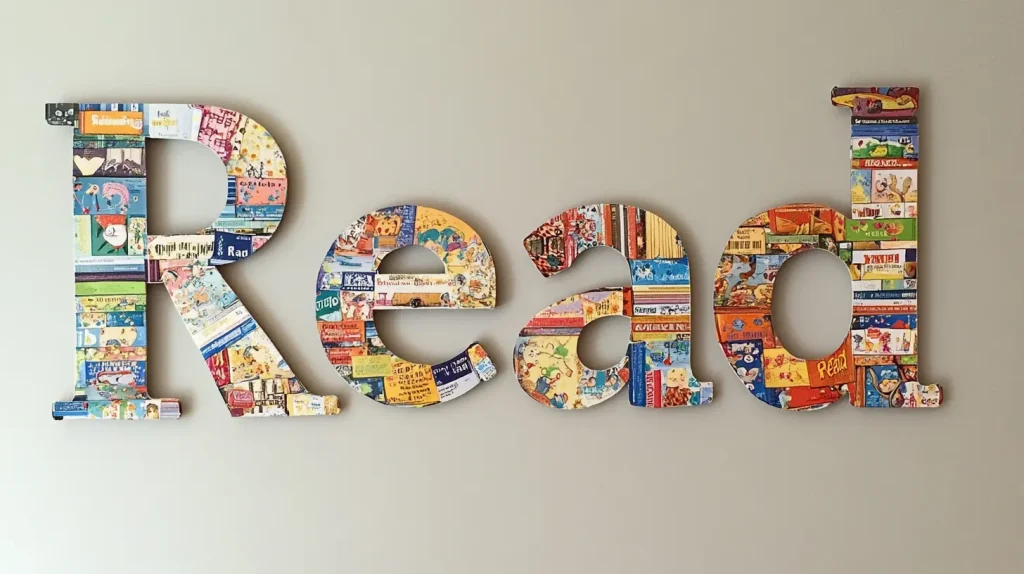
Starting your photo collage on wooden letters can be a delightful way to personalize your decor.
- Begin by selecting a wooden letter and a variety of photos or decorative papers that fit your theme.
- Cut the photos or papers into smaller pieces to ensure they fit well, creating a cohesive collage.
- Apply a thin adhesive layer to the back of each piece and place them on the wooden letter.
- Once all pieces are adhered, seal the entire surface with gel medium to protect your collage.
12. Glitter and Sequins

Adding glitter and sequins to wooden letters can transform them into dazzling decorative pieces.
Start by applying three coats of glitter paint to the lower third of your wooden letters for a chic dipped effect.
Once the glitter has dried, add extra sparkle with rhinestones or sequins. Mix various sizes of embellishments for a balanced visual appeal.
13. Metallic Accents

Applying metallic accents to wooden letters can instantly elevate their look, making them a striking focal point in any room.
- Start by applying 2-3 coats of metallic paint to ensure vibrant, even coverage.
- Experiment with different metallic colors to add visual interest to your decorated letters.
- For extra flair, try incorporating glitter paint at the lower third of the letters to create a stylish dipped effect.
- Once you’re satisfied with the design, seal it with a water-based top coat.
14. Beads and Buttons

When decorating wooden letters with beads and buttons, you’ll find they offer endless possibilities for creativity and texture.
- Select a variety of beads and buttons in different sizes, shapes, and colors that complement your design.
- Use a strong adhesive to attach them in a decorative pattern or randomly for a playful effect.
- Once your design is complete, seal it with a clear topcoat to protect the embellishments.
15. Ribbons and Bows

Decorating wooden letters with ribbons and bows can instantly elevate their charm and appeal.
Choose ribbons and bows that match your color scheme and desired textures. Satin, burlap, and lace are excellent options for varied finishes.
Use hot glue to secure the ribbons and bows, ensuring they stay in place.
To prevent fraying and for a polished look, cut the ribbon ends at an angle or in a “V” shape.
16. Lace Trims

Beyond ribbons and bows, lace trims offer another elegant option to elevate their aesthetic.
Measure and cut the lace trims to fit your wooden letters. Apply adhesive to secure the lace in place, smoothing it carefully to avoid wrinkles or bubbles.
Finish with a protective top coat to preserve the delicate fabric and ensure durability against wear and tear. This final touch will safeguard your beautiful craft project and keep it looking elegant for years.
17. Yarn

To decorate wooden letters with yarn, pick a color palette that complements your space.
Secure the starting point with glue on the back of the letter. Wrap the yarn tightly around the letter. Maintain even tension and spacing for a smooth appearance without gaps.
For added detail, weave in different colors or create patterns like stripes and ombre effects as you wrap.
Finish by securing the end of the yarn and trimming any excess yarn for a polished look.
18. Twine or Jute

For a charming rustic look, wrap a sturdy twine or jute around your wooden letters.
Apply a thin layer of adhesive to the surface of each letter to ensure the twine or jute adheres smoothly. Begin at one end and wrap tightly, overlapping slightly to avoid any gaps.
As you work your way to the other end, make sure the twine is evenly spaced for a consistent texture. For added flair, incorporate small decorative elements like tiny flowers or beads, securing them with the same twine.
19. Natural Elements

When decorating wooden letters with natural elements, select materials like twine, dried flowers, or leaves to create an organic and textured look.
Begin by painting your wood letters in earthy tones or applying a wood stain to complement the natural elements. Attach embellishments with glue to enhance the letters’ shape.
For a more layered look, intertwine twine with dried flowers to give your wood letters a cohesive, nature-inspired appearance.
20. Sand and Seashells

Transforming wooden letters into beach-inspired decor is a fun and creative project.
- First, sand the wooden letters to ensure a smooth surface for better adhesion.
- Next, apply a layer of adhesive and sprinkle fine sand evenly over it to create a beachy texture.
- Once the sand is set, paint the letters in ocean-inspired colors like soft blues or sandy beige.
- Use a hot glue gun to attach seashells of various sizes and shapes, arranging them for visual appeal and dimension.
- Finally, finish your design with a clear sealant to protect the sand and seashells.
Your beach-themed wooden letters are now ready to display or gift!
21. Feathers

Feathers can add an elegant and whimsical touch to wooden letters, making them stand out as unique decor pieces.
Start by selecting feathers in various sizes and colors to match your design theme.
Then, carefully place the feathers, ensuring they’re securely attached and arranged without gaps.
For a layered effect, slightly overlap the feathers. This creates a more natural and dynamic look.
22. Holiday Themes

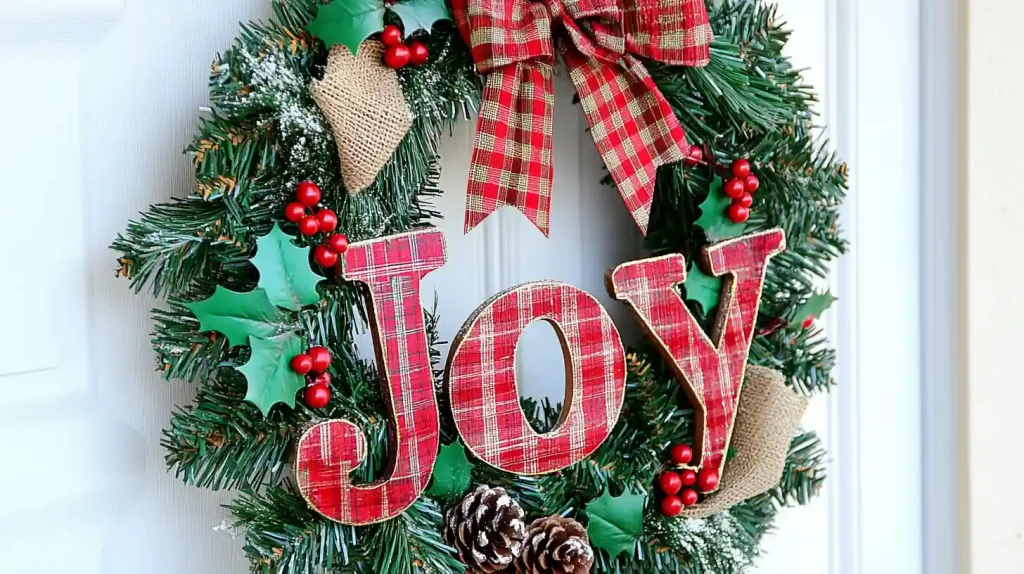
Decorating wooden letters in holiday themes is a fantastic way to infuse your home with seasonal cheer.
- Hand paint wooden letters in seasonal colors like red for Christmas or pastels for Easter.
- Add embellishments such as glitter, ribbons, and themed stickers to create a festive look.
- Layer decorative papers featuring holiday patterns to enhance the design.
- For a rustic touch, incorporate natural elements like twine or dried flowers.
- Arrange your crafts into wreaths, garlands, or themed centerpieces to celebrate the season.
Mount or Display Your Decorated Wooden Letters
Once you’ve finished your crafts, it’s time to think about how you’ll mount or display them to showcase your creativity.
- For wall mounting, use clear plastic hanging tags for straightforward installation.
- Hooks or adhesive strips offer flexibility and prevent wall damage.
- If you prefer a clean look, concealed mounting brackets work wonders.
- You can also arrange your wooden letters on a tabletop for a personalized display.
Whether on the wall or a shelf, arranging your letters will reflect your unique style and bring your space to life.
Conclusion
Now, you have all the tools and techniques to turn plain wooden letters into stunning crafts. By experimenting with different decor ideas, you can create truly personalized designs. Remember to seal your letters and mount them on a wall or display them on a shelf.
Your decorated wooden letters will add a unique touch to any space. Happy decorating!

