Are you ready to unleash your creativity and add a personal touch to your home decor? Cutting out wooden letters is a fun and rewarding project that will elevate your crafting skills while allowing you to express yourself in a unique way!
Whether you’re decorating a nursery, creating a memorable gift, or simply adding a statement piece to your space, this guide will walk you through the process step-by-step. Grab your tools, and let’s dive into the satisfying world of wooden letter crafting!
Key Takeaways
- Select high-quality wood sheets like basswood or balsa wood, not exceeding 11 inches in size.
- Secure the wood to a strong grip mat with masking tape to prevent movement during cutting.
- Use a knife blade or deep-cut blade to calibrate the cutting machine properly.
- Choose a thick font with a thickness of over 0.2 inches, create an SVG design file, and upload it to the cutting software.
- Sand edges with coarse and fine sandpaper, and finish with paint, stain, or sealant for protection.
Materials and Tools Needed
To start cutting out wooden letters, you’ll need to gather some essential materials and tools.
First, select high-quality wood like basswood or plywood, perfect for intricate designs. Secure the wood to a strong grip mat using masking tape to prevent movement during cutting.
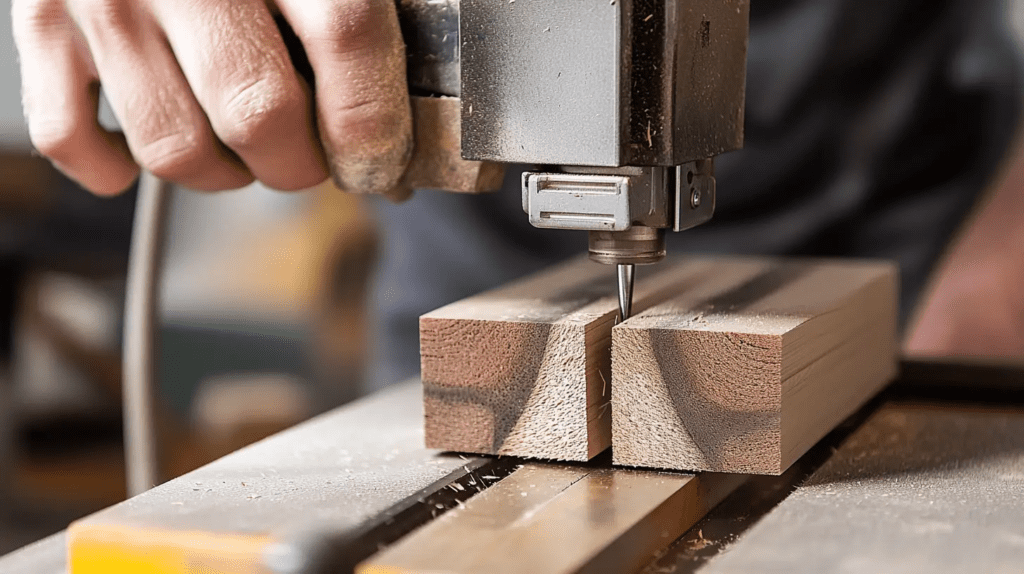
For tools, use a knife blade or deep-cut blade, depending on your cutting machine, to ensure clean cuts. A scroll saw is also great if you don’t have a cutting machine.
With these materials and tools ready, you’re well-equipped to cut wood letters efficiently, ensuring precise and beautiful results for your project.
How to Cut Out Wooden Letters: A Step-by-Step Tutorial

After preparing the materials and tools, let’s learn how to cut out wooden letters.
Step 1: Choose a Font and Size
Start by selecting a thick, sturdy font like Lucy Lou, which is over 0.2 inches thick. This thickness ensures better cutting results and durability.
Choose a size that suits your project, typically around 7 inches wide by 3 inches tall for standard letters. Pay attention to the design’s spacing; ensure enough room between letters to avoid overlap and make assembly easier.
Single-layer fonts are preferable as they simplify the cutting process.
Step 2: Create or Print a Template
Save your design as an SVG file, which is compatible with most cutting machines. If you’re creating a multi-layer design, arrange each layer properly and leave adequate spacing between letters.
Before cutting, print a test template on paper to verify the layout and dimensions. This step allows you to make any necessary adjustments before cutting the wood.
Step 3: Start Cutting
To start cutting the letters, upload your design file (SVG) to the cutting software. Ensure the thickness of your design file exceeds 0.2 inches for effective cutting.
Choose a strong grip mat for stability. Secure the wood with masking tape to prevent movement during the cutting process. Load the appropriate knife blade into the machine and calibrate it for accuracy.
Make sure your design fits within the maximum width of 11 inches. Click “Make It” in the software and arrange the wooden letters efficiently on the mat to maximize material usage.
Monitor the cutting process closely to ensure the blade penetrates the wood completely. Once the machine finishes, carefully remove the cut letters.
Finishing Touches
Now that you’ve cut out your wooden letters, it’s time to focus on the finishing touches.
Sand the Edges for a Smooth Finish
Achieving a smooth finish on your wooden letters is an essential step that enhances their look and feel.
Sand the edges with coarser grit sandpaper, like 80, to remove any rough spots. Gradually move to a finer grit, such as 220, to achieve a polished surface. Always sand in the direction of the wood fibers to avoid damaging them and to ensure a uniform finish.
For intricate letters or tight corners, consider using a sanding sponge or detail sander to maintain control.
After sanding, wipe down the letters with a damp cloth to remove any dust particles, preparing them for the next steps in your project.
Paint or Stain the Letters
Before painting or staining the letters, apply a high-quality primer to ensure the paint adheres well and the wood’s natural grain doesn’t show through.
When painting, use thin, even layers, allowing each coat to dry completely to avoid streaks and achieve a vibrant finish.
If you prefer staining, test the stain on a scrap piece first, as the wood’s grain and moisture content affect the final color. Apply the stain evenly, and once dry, assess if additional coats are needed.
Finally, protect your masterpiece by finishing with a clear sealant or topcoat.
Add Embellishments (Optional)
Enhancing your wooden letters with embellishments can take your project to the next level.
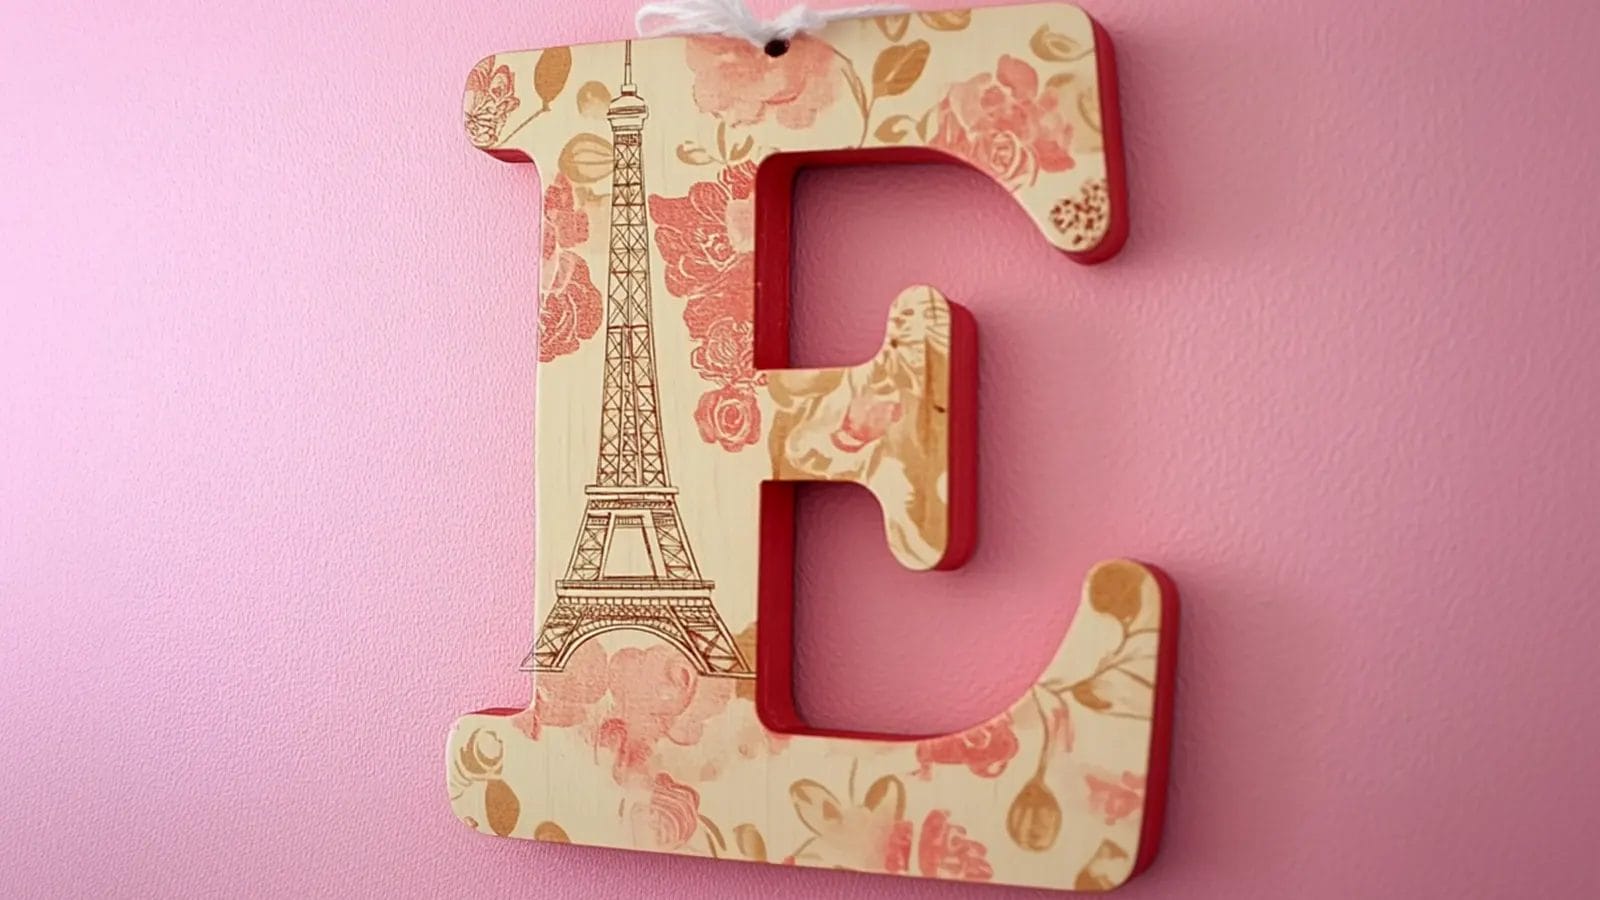
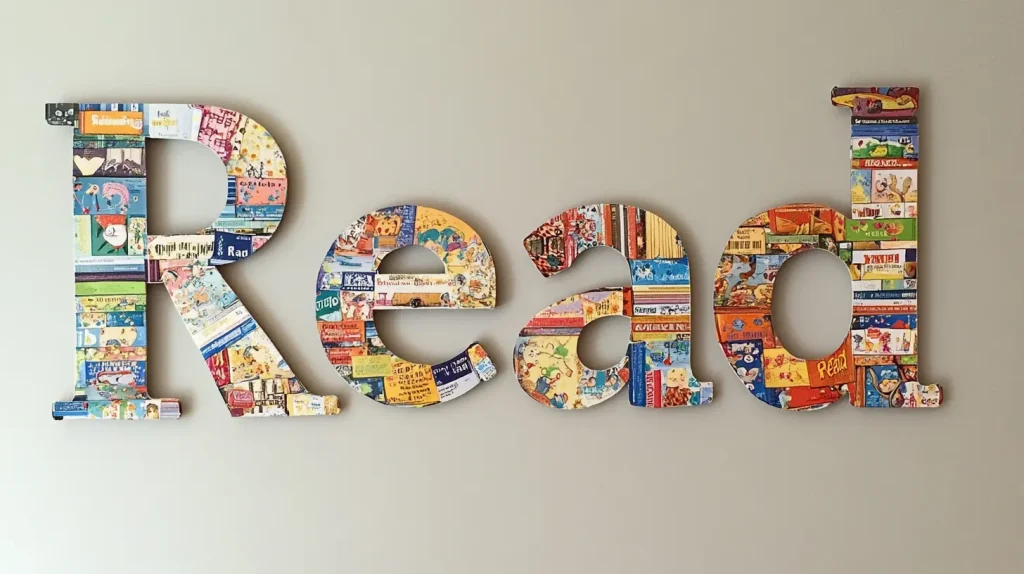
In addition to painting, add embellishments like glitter, fabric, or decorative papers to personalize your wood letters. Once the embellishments are completely dry, lightly sand the edges for a refined look and to improve adhesion.
How to Display Your DIY Wooden Letters

Now that you’ve crafted your wooden letters, it’s time to think about how to display them.
Ideas for Decoration and Display
Painting or staining wooden letters can give them life and make them a standout feature in any room.
To elevate your home decor, consider mounting the wooden letters on a contrasting background like a canvas or wood panel for an eye-catching display. Experiment with different sizes and fonts to craft unique wall art that tells a story or conveys a meaningful message.
Personalization is key. Arrange the letters in creative patterns or shapes, such as names or quotes, to make a statement. Adding elements like fairy lights or greenery can enhance the ambiance, creating a warm and inviting atmosphere.
Let your imagination run wild, and your wooden letters will become a conversation starter.
Mounting Options
When it comes to displaying your wooden letters, there are several mounting options to consider.
Unpainted letters usually don’t come with mounting hardware, so purchasing adhesive during checkout can simplify installation. Adhesive strips or glue work well for lightweight letters, while nails or screws are better for heavier ones.
Always consider the wall texture; drywall or plaster may require anchors for a secure hold. Ribbons can add a decorative touch, but for safety, avoid hanging letters above cribs.
For stability, ensure your chosen method suits the weight and size of the letters.
Conclusion
Now that you know how to cut out wooden letters, you can personalize your projects with ease. With the right materials, a carefully prepared design, and some attention to detail, your wooden letters will look professional and polished.
Don’t forget to sand and customize them to match your vision. Displaying your finished pieces will bring a personal touch to any space.
So, grab your tools and start creating your unique woodworking project today!
FAQs
How Do I Cut Letters in Wood?
To cut letters in wood, first prepare your material and secure it with masking tape. Upload your design, calibrate the blade, and start the cutting process. Monitor closely to ensure precision. Remove the letters and admire your work.
How to Make Wood Word Cutouts?
To make wood word cutouts, start by selecting basswood or balsa wood. Upload your design to Cricut Design Space, ensuring thick fonts. Secure the wood on a strong grip mat, then cut using a knife blade.
What Is the Best Wood for Cutting Letters?
You should use Baltic Birch to cut letters. It’s durable, stable, and offers a high-quality surface. Basswood is also great for its smooth finish, though less sturdy. Avoid balsa wood as it’s too flimsy.
Can a Cricut Cut-Out Wood Letters?
Yes, a Cricut can cut out wood letters. For best results, use a knife blade and 1/16-inch basswood sheets. Ensure the wood is secured, monitor the process, and clear sawdust for clean, precise cuts.


