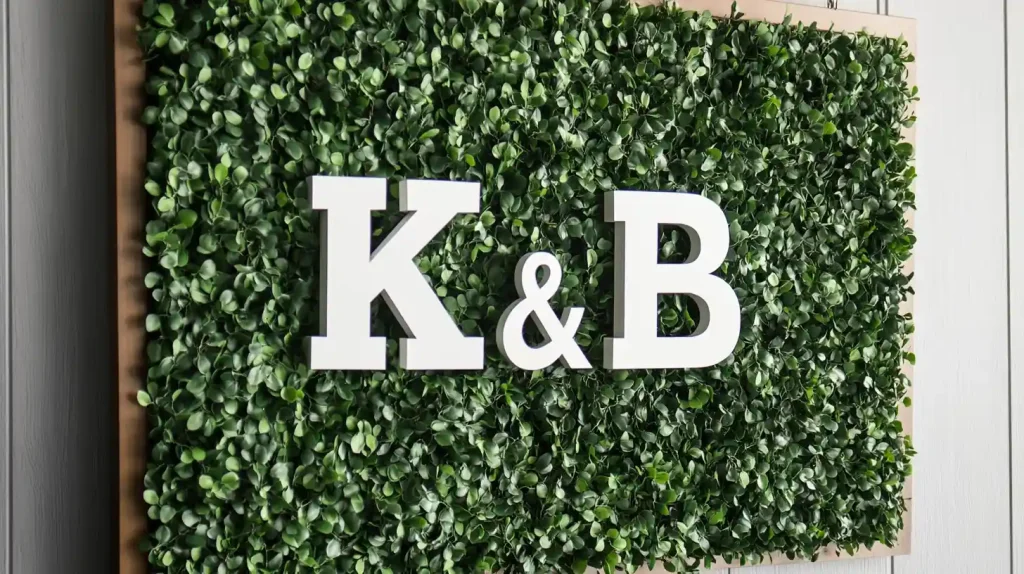
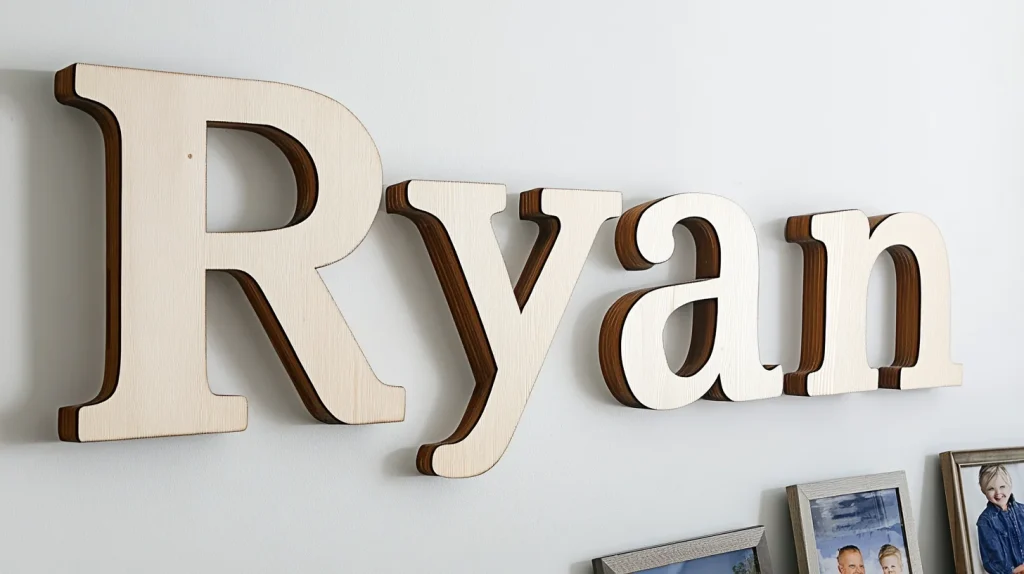
Transforming your space with wooden letters can add a personal and creative touch to any backdrop. Whether decorating for a baby shower backdrop, sprucing up a child’s room, or simply expressing your unique style, hanging wooden letters is an exciting project that allows your personality to shine.
With the proper techniques and inspiration, you can effortlessly showcase meaningful words or phrases that resonate with you and your loved ones. Let’s dive into the art of hanging wooden letters and make your backdrop truly stand out!
Key Takeaways
- Plan and mark the layout with a level and measuring tape for even spacing.
- Use command hooks or screws to attach the letters to the backdrop securely.
- Suspend letters using 50 lbs of fishing string for a clean, damage-free hang.
- Ensure the backdrop is stable with sandbags or additional grommets and screws.
- Attach letters using adhesive strips or hot glue for a strong, secure bond.
Materials for How to Hang Wooden Letters on Backdrop
When hanging wooden letters, you’ll need a few key materials to ensure a secure and visually appealing display.
Start with command hooks for easy attachment without damaging the backdrop. Use sturdy fishing string, ideally 50 lbs, to suspend the wooden letters.
To maintain stability, consider sandbags or a front stabilizer.
These essentials will help you create a polished and stable arrangement.
Step 1: Prepare the Backdrop and Wooden Letters
Start by ensuring your backdrop is securely installed and stable. Use grommets and screws for added support if needed.
Choose lightweight wooden letters to prevent sagging and sand them for smooth edges. If possible, you can even decorate your letters by painting or decoupage.
Step 2: Plan the Layout
Before you hang the wooden letters, it’s crucial to plan the layout meticulously.
Start by considering the theme and color scheme to ensure a cohesive design. Create a rough sketch of the arrangement, then measure the dimensions of the backdrop for even spacing.
Determine the height for readability, and use a level or measuring tape to ensure straight, consistent alignment.
Step 3: Mark Placement on the Backdrop
Mark placement on the backdrop with a light pencil or chalk to create a visual guide. Use a level to check alignment, ensuring the letters are straight.
Double-check the spacing between letters to maintain balance and cohesion with the backdrop’s overall design.
Step 4: Attach the Letters
Now, it’s time to attach letters to the backdrop. Here are four easy ways to hang your wooden letters.
Method 1: Use Adhesive Strips

How can you hang a sign on a backdrop in the easiest way? Attaching them using adhesive strips is a simple and effective method.
First, ensure the backdrop is clean and dry. Cut the adhesive hanging strips to 1-2 inches and firmly press each letter onto the strip for 30 seconds to create a secure bond.
Check the weight limit of the strips to ensure they can hang wooden letters without falling.
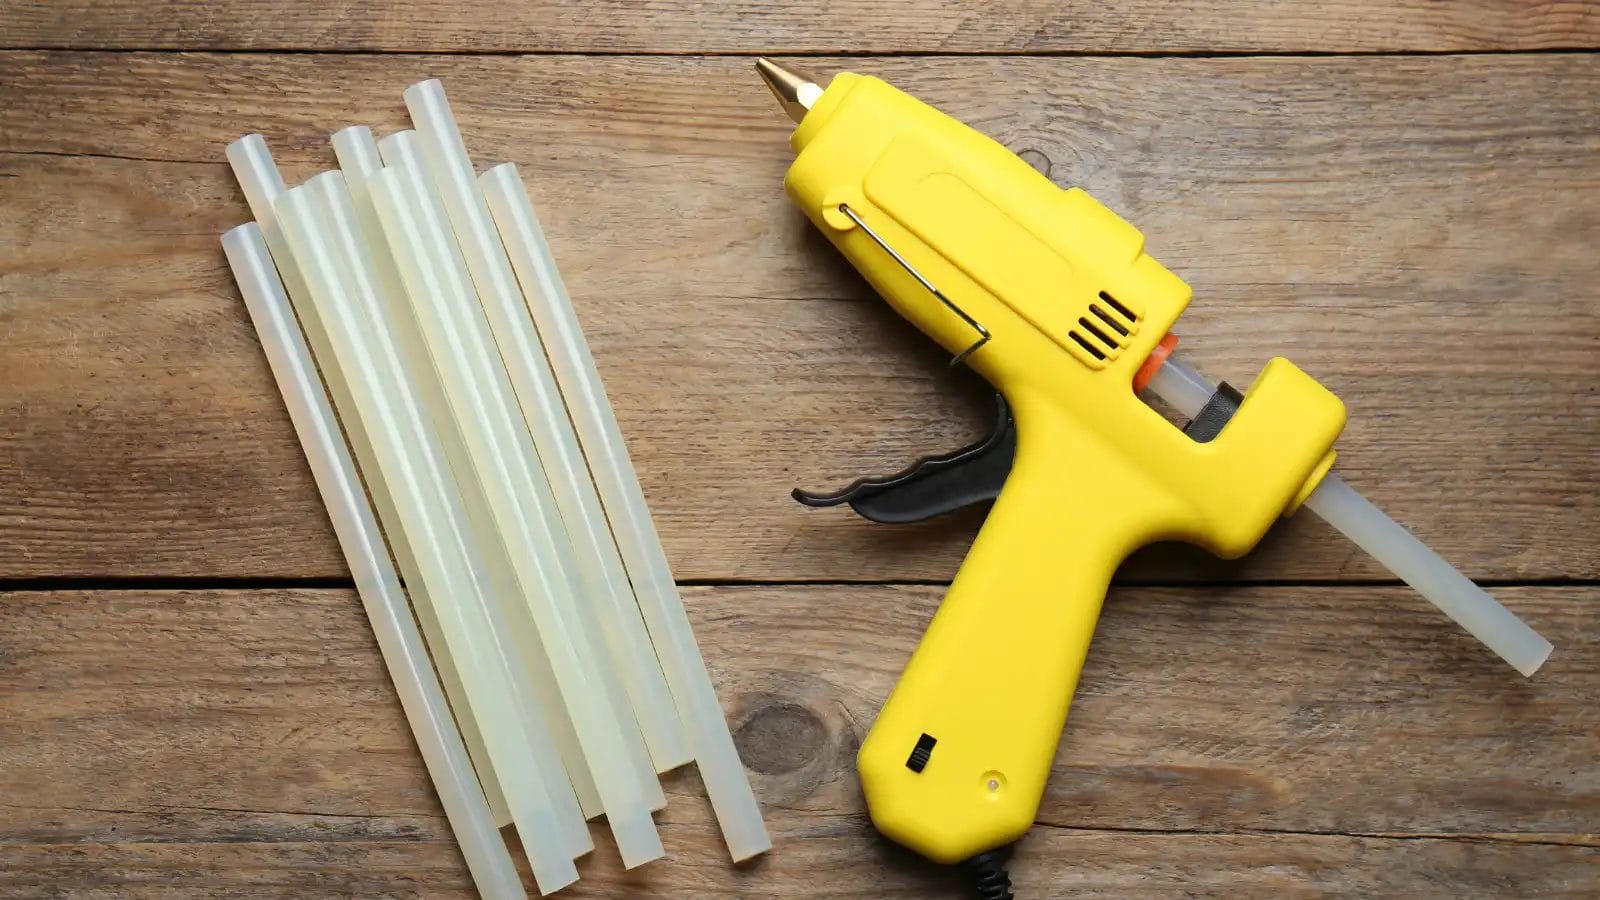
Method 2: Use Hot Glue

Hot glue makes it easy to secure your letters to the backdrop, especially if you’re going to hang a heavy wooden letter.
Apply a generous amount of hot glue to the back of each wooden letter, then press it firmly against the backdrop for at least 30 seconds. This will create a strong bond.
Use a level to ensure the wooden letters are straight before the glue hardens.
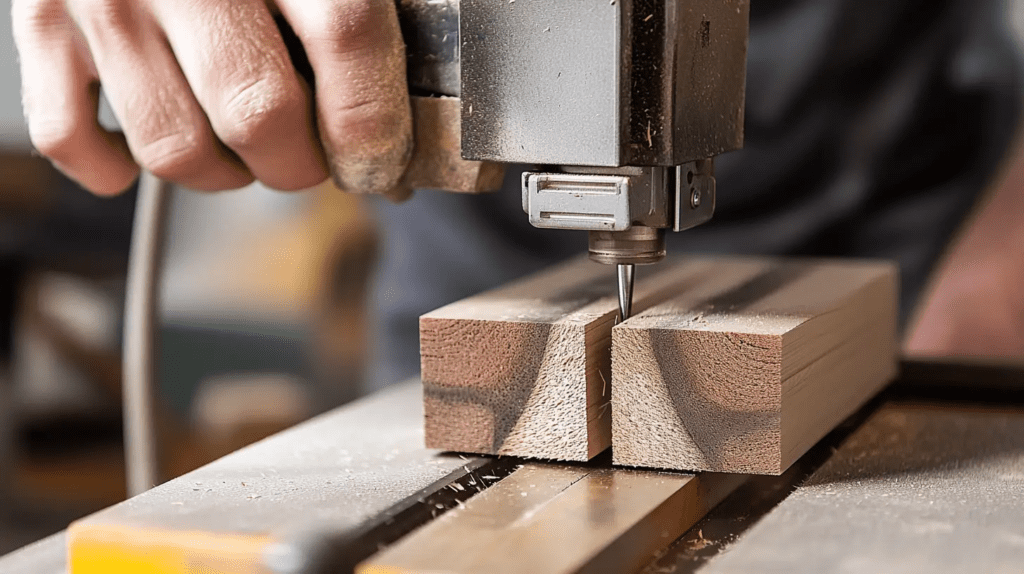
Method 3: Use Nails or Screws

When using nails or screws to hang your wooden letters on a sturdy backdrop, consider the weight and material of both the letters and the backdrop to ensure a secure attachment.
Pre-drill holes in the wooden letters to prevent splitting. Use a level to align the letters, then space them evenly.
Make sure the nails or screws are appropriate for the backdrop’s material.
Method 4: Use Twine or Wire

If nails or screws aren’t suitable for your backdrop, using twine or wire offers a flexible and visually appealing alternative.
Cut lengths of twine or wire, tie them securely around each wooden letter, and hang them from hooks on the backdrop.
Adjust the letters by pulling the twine or wire until balanced. This method allows easy adjustments and ensures a polished display.
Step 5: Final Touches
Now that your letters are up, take a moment to adjust their alignment.
Add any decorative elements around the letters to enhance the design if you wish.
Lastly, double-check the stability of each letter to make sure they’re securely in place.
Adjust Alignment
As you near the end of your project, take a moment to adjust the alignment of your wooden letters for the perfect finish.
Use a level to ensure they’re straight and spaced evenly. Temporarily suspend the letters with fishing string for easy adjustments.
Step back periodically to confirm the overall design aligns with your vision, and lightly mark positions before securing.
Add Decorative Elements (If Desired)
To elevate your display, consider adding decorative elements around your wooden letters. For example, incorporate balloons, flowers, ribbons, or themed embellishments to enhance visual appeal.
Make sure these additions are evenly spaced and aligned with your letters. This extra touch can transform your backdrop into a stunning focal point, ensuring everything looks cohesive and polished.
Don’t forget to step back and assess the arrangement.
Ensure Stability and Safety
Ensuring stability and safety is crucial for a successful wooden letter display.
Use sandbags or sturdy backdrop support for stability. Secure the letters properly to prevent them from falling.
Inspect hanging materials for wear. Use a two-person method to make necessary adjustments and maintain visibility.
Step back to assess and ensure everything is secure and aesthetically pleasing.
Conclusion
You’ve now hung your wooden letters on the backdrop! With careful preparation, smart layout planning, precise marking, and secure attachment, your display looks stunning and professional.
Double-check everything for stability and make any final adjustments for balance and aesthetics. Your effort has paid off, whether it’s for a special event or home decor.
Enjoy the polished and personalized touch you’ve added to your space!
FAQs
How to Hang Wood Letters on Fabric Backdrops?
First, attach small hooks or adhesive strips to the fabric backdrop. Then, use fishing string or decorative twine to hang the wooden letters. Adjust height and angle to achieve a polished, uniform look.
What Do You Hang Wooden Letters With?
You can hang wooden letters with Command hooks for a damage-free option or use small head screws for a more permanent attachment. Fishing string or decorative twine also works well for adjustable height and angle.
How Do You Hang Wooden Letters Without Nails?
You can hang wooden letters without nails by using Command hooks, adhesive strips, Velcro strips, or double-sided tape. These methods securely attach the letters while allowing for easy adjustments and avoiding damaging the backdrop.
How Do You Attach Wooden Letters to a Wall?
To attach wooden letters to a wall, use strong adhesives like construction glue or double-sided tape. For more stability, consider screws or wall anchors. Command hooks are great for non-permanent solutions. Ensure the surface is clean.


