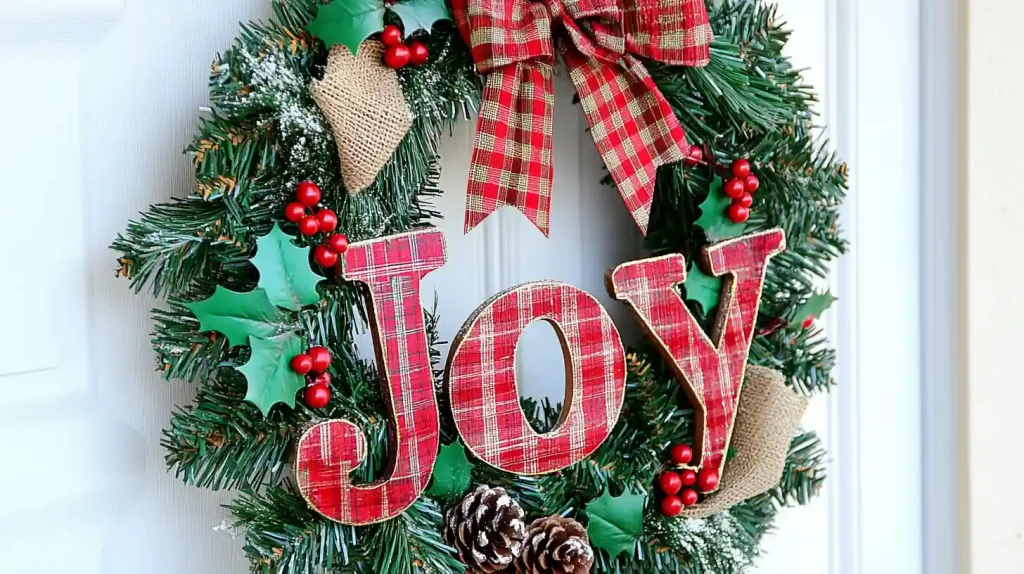
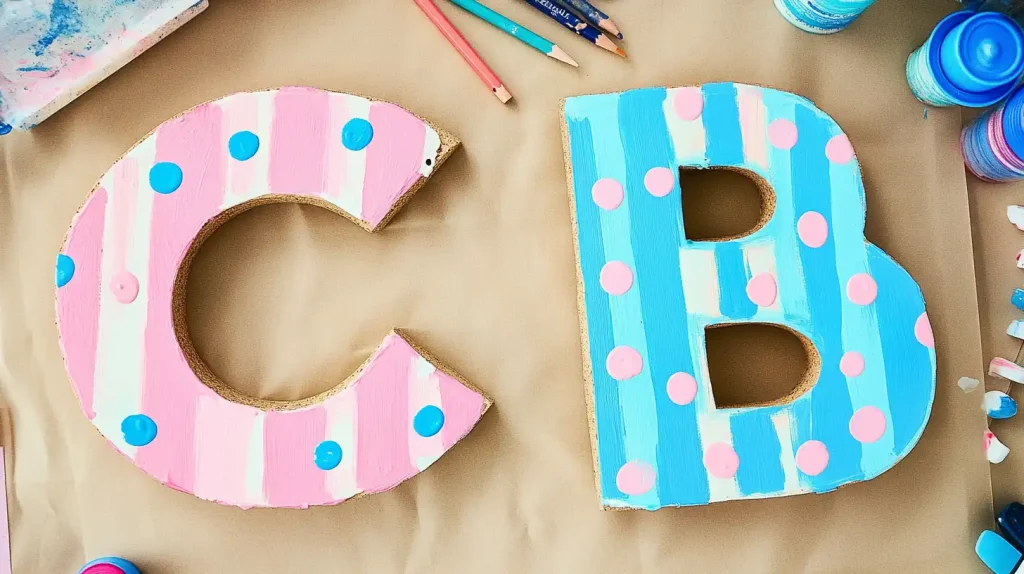
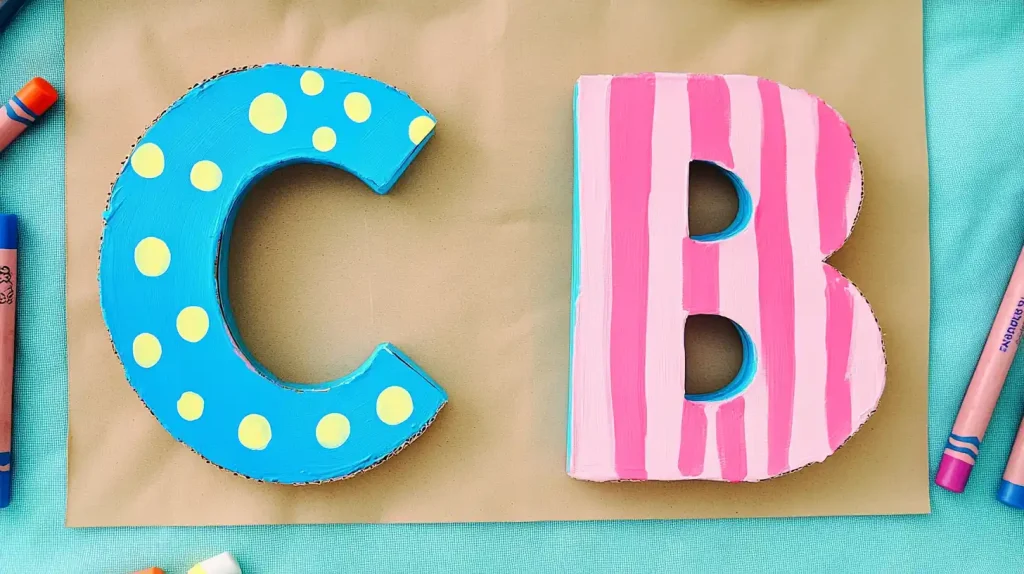
Decorating wooden letters is not just a creative endeavor; it’s a way to express your unique style and personality! The possibilities are endless, whether you’re looking to enhance your home decor, craft personalized gifts, or even add a thoughtful touch to a special event.
With a splash of color, some imaginative patterns, and a bit of ingenuity, you can transform simple wooden letters into stunning focal points. Join us on this artistic journey and discover how to bring your vision to life, one letter at a time!
How to Decorate Wooden Letters: 17 Creative Ideas
In the following sections, you’ll explore various ideas to transform plain wooden letters into beautiful decorative pieces that reflect your style and personality
1. Solid Color Painting
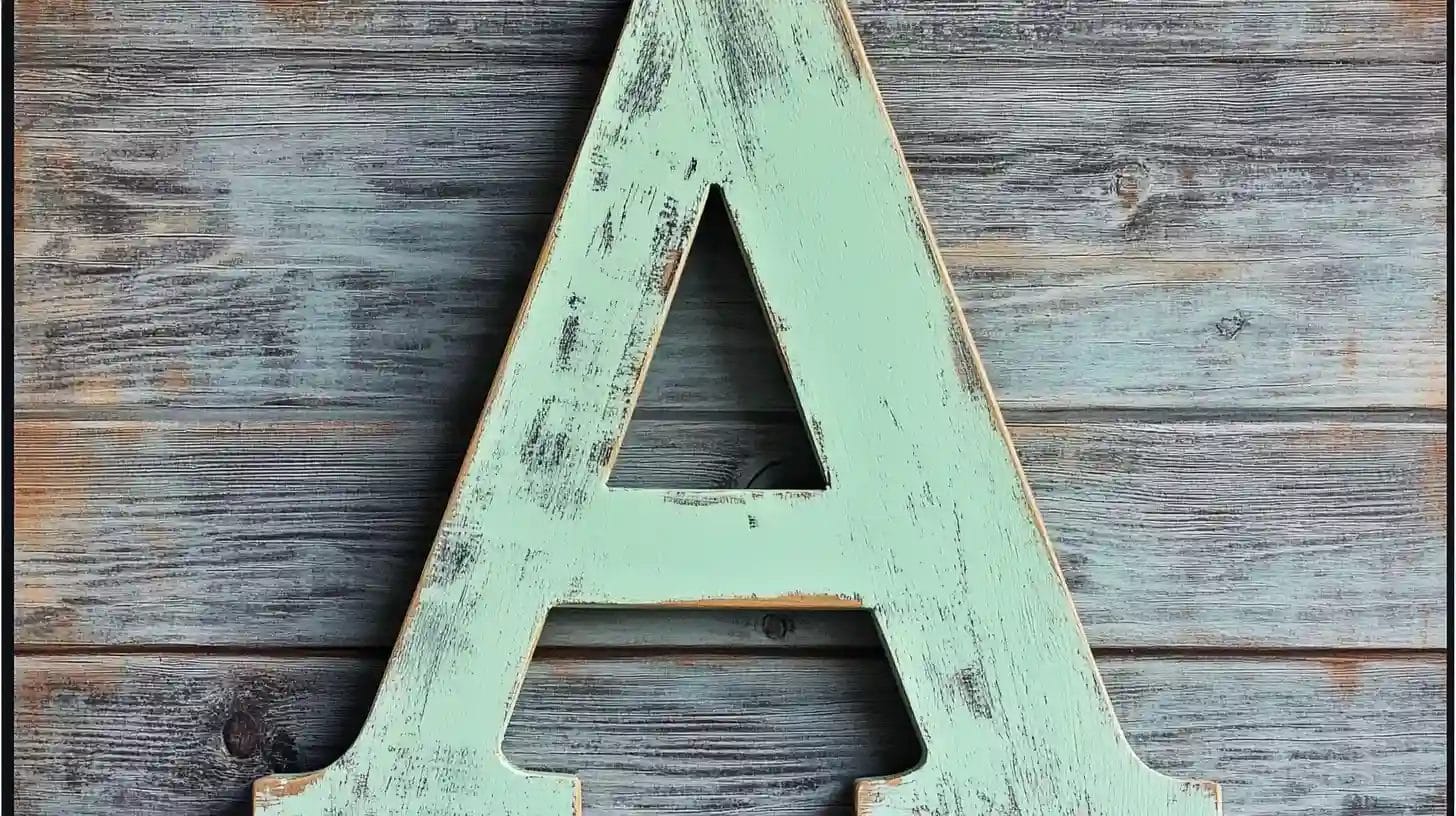
Solid color painting is a straightforward and effective way to decorate wooden letters.
Start by selecting latex paint for its smooth application. Ensure the wood letters are clean and dry. Apply a light coat of paint with a small roller for even coverage. Let it dry completely, then add 2 to 4 coats for a vibrant finish.
This technique offers a simple yet striking decor.
2. Ombre Effect
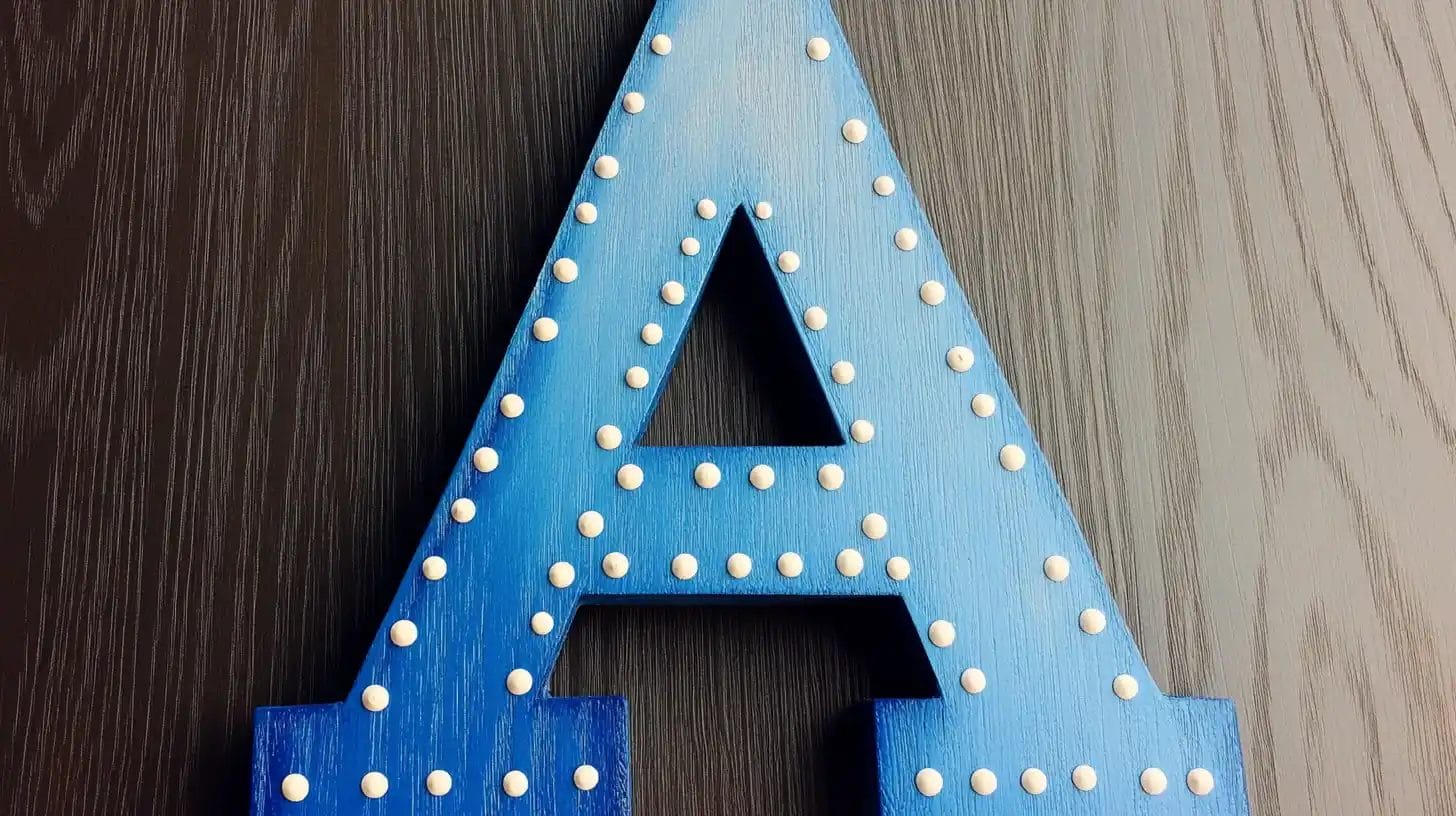
After mastering solid color hand painting, you might want to explore more dynamic techniques like the ombre effect.
Start with painted wood letters, applying a lighter color at the top. Gradually blend in a darker shade to create a gradient effect. Use a sponge or foam brush for a seamless blend.
Let each layer dry completely before adding the next. Finally, seal the letters to protect the paint.
3. Stenciling Patterns
Stenciling patterns onto wooden letters offers a fantastic way to bring intricate designs and personalized touches to your decor.
To start, secure the stencil firmly to your painted wooden letters using painter’s tape. Apply contrasting colors with a sponge applicator for a striking look.
Once dry, seal with a clear topcoat to protect your design from wear and tear.
4. Fabric Covering
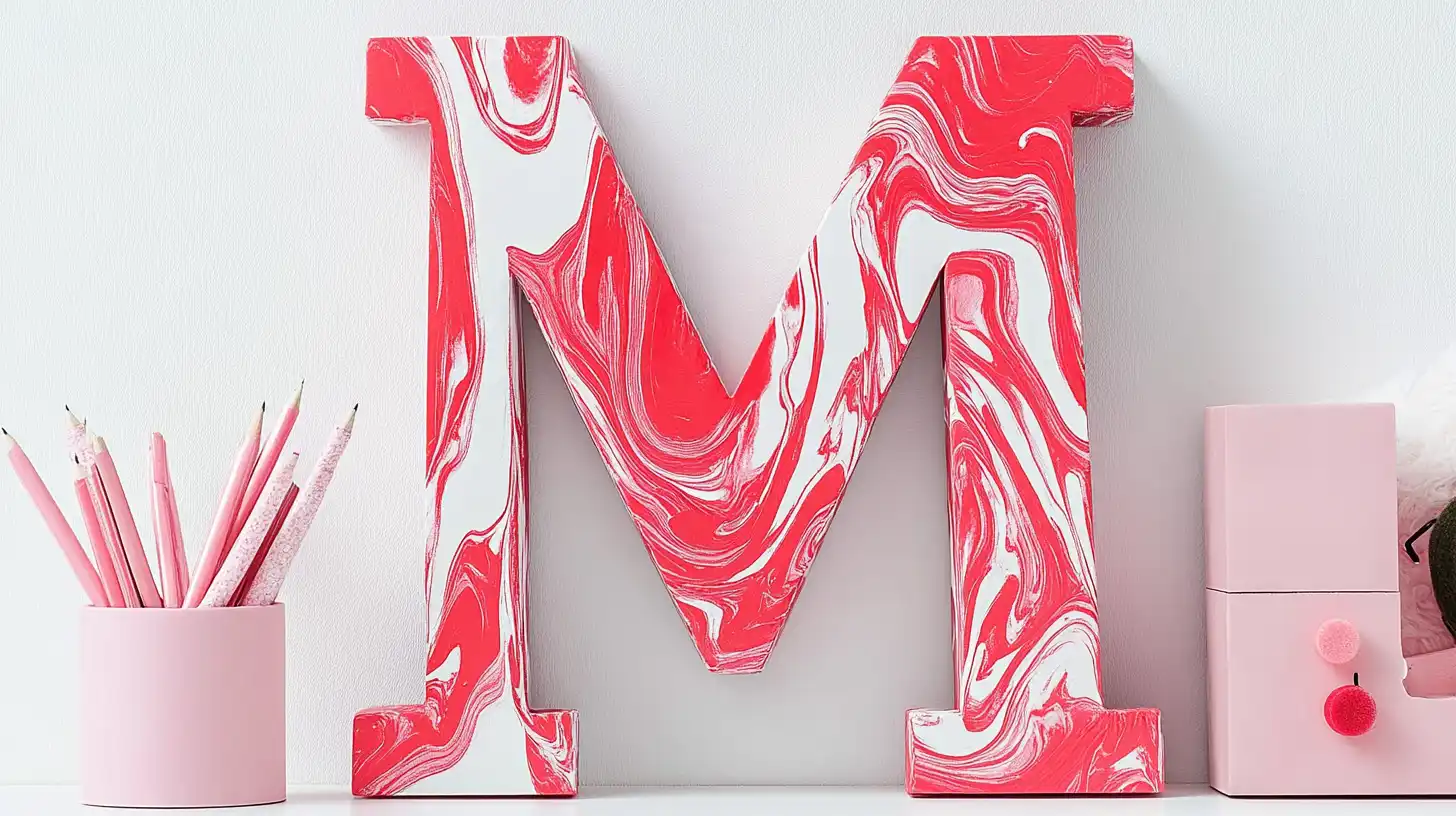
Covering wooden letters with fabric adds a charming and tactile dimension to your decor.
Start by cutting your chosen fabric to fit the wall letter. Apply Mod Podge with a foam brush, working in small sections. Smooth the fabric onto the adhesive, eliminating wrinkles.
Seal with another Mod Podge layer. For added flair, incorporate embellishments like lace or ribbon along the sides.
5. Decoupage
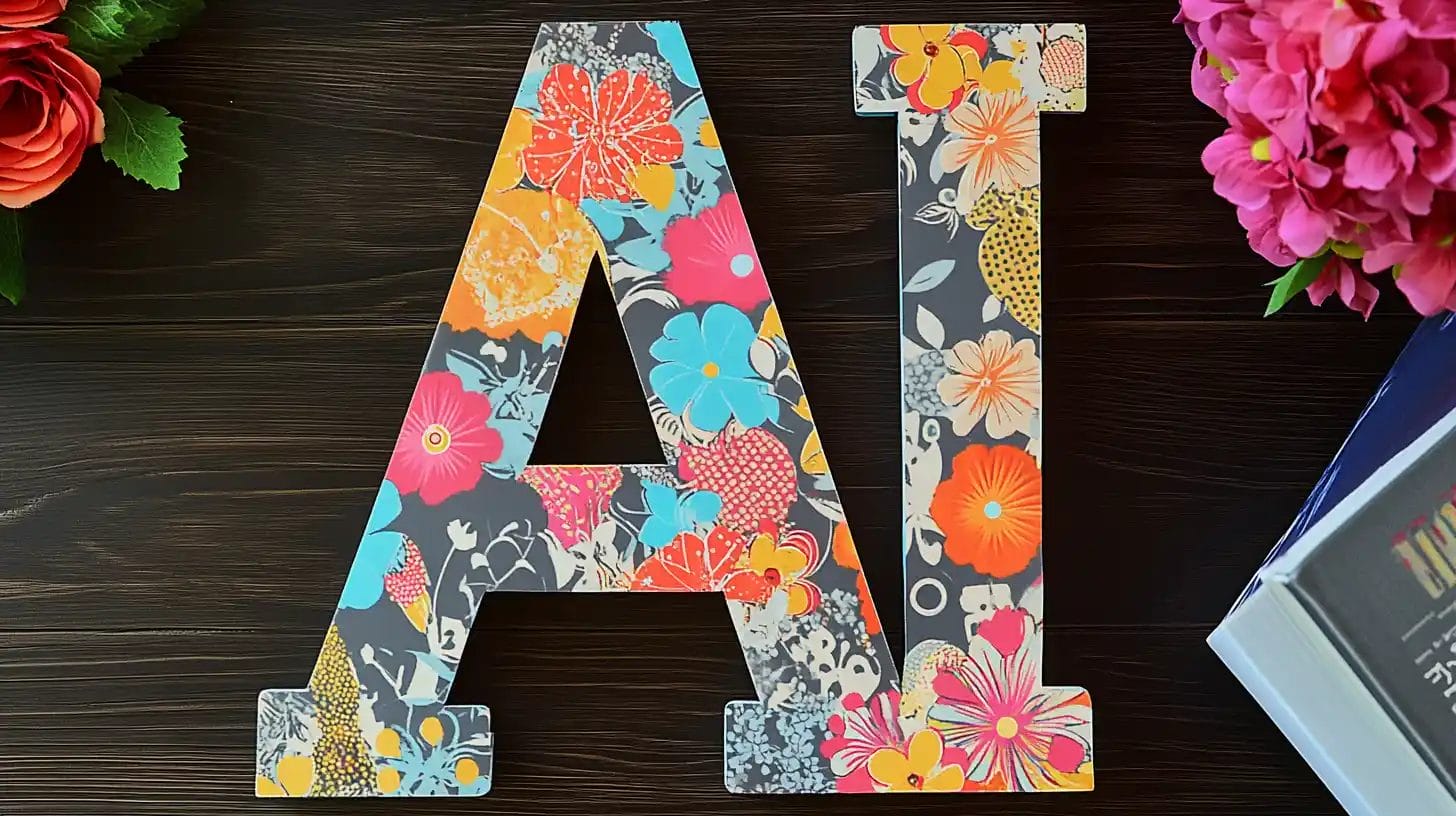
Decoupage is a versatile and accessible technique for decorating wooden letters. It allows you to create intricate designs with minimal effort.
Start by cutting tissue or scrapbook paper into shapes or confetti. Apply a thin layer of Mod Podge to your wooden letters, place the cut pieces, and smooth out wrinkles.
Once dry, seal with another coat of Mod Podge for durable, personalized designs.
6. Wood Stain
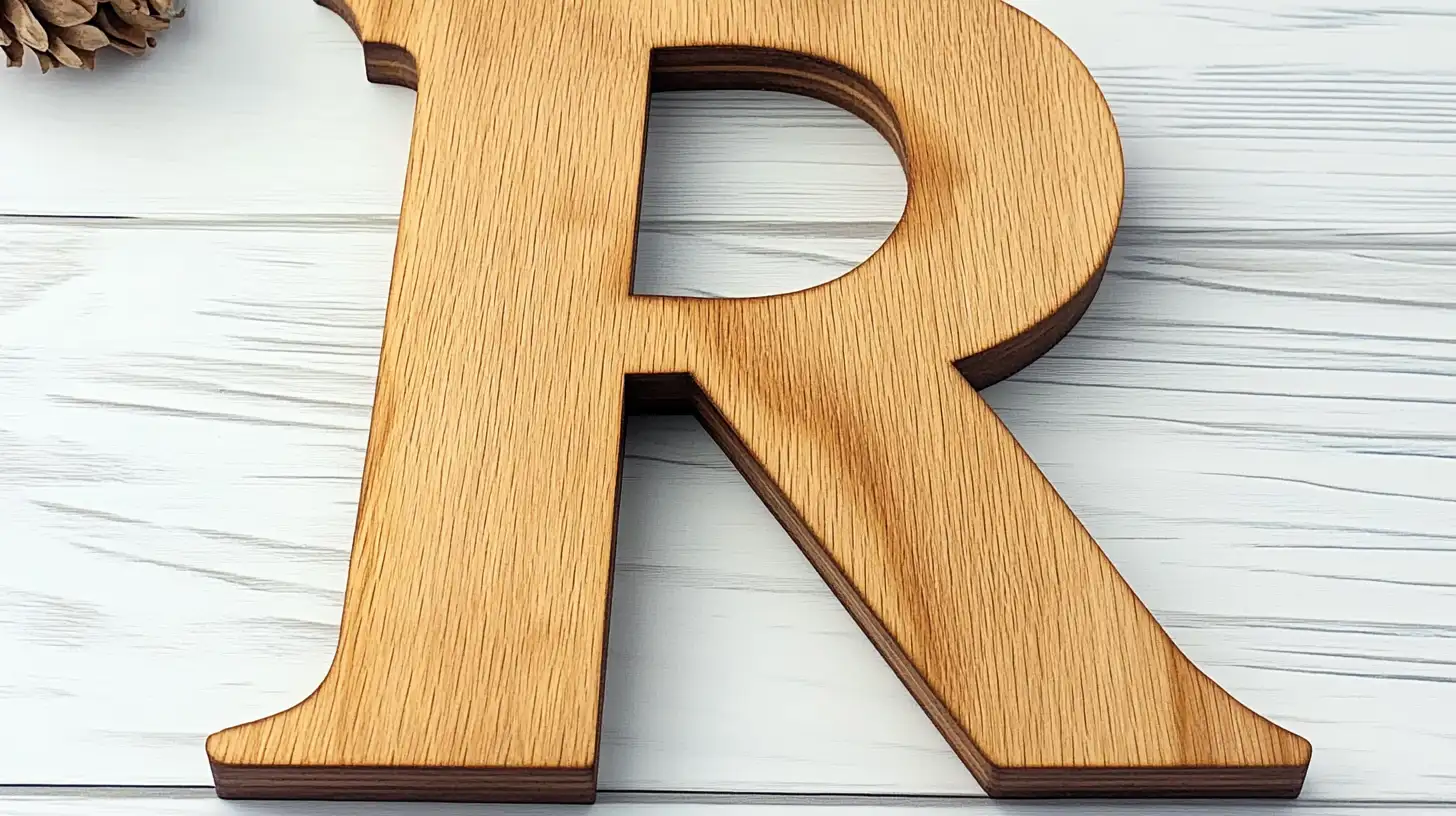
Enhancing the natural beauty of wooden letters with wood stain can give them a sophisticated and timeless look.
A wood stain highlights the natural wood grain, adding depth and richness. Use a soft cotton cloth to blend colors seamlessly. Apply white wax for an aged appearance.
Don’t forget a protective top coat to seal and ensure durability.
7. Add Greenery
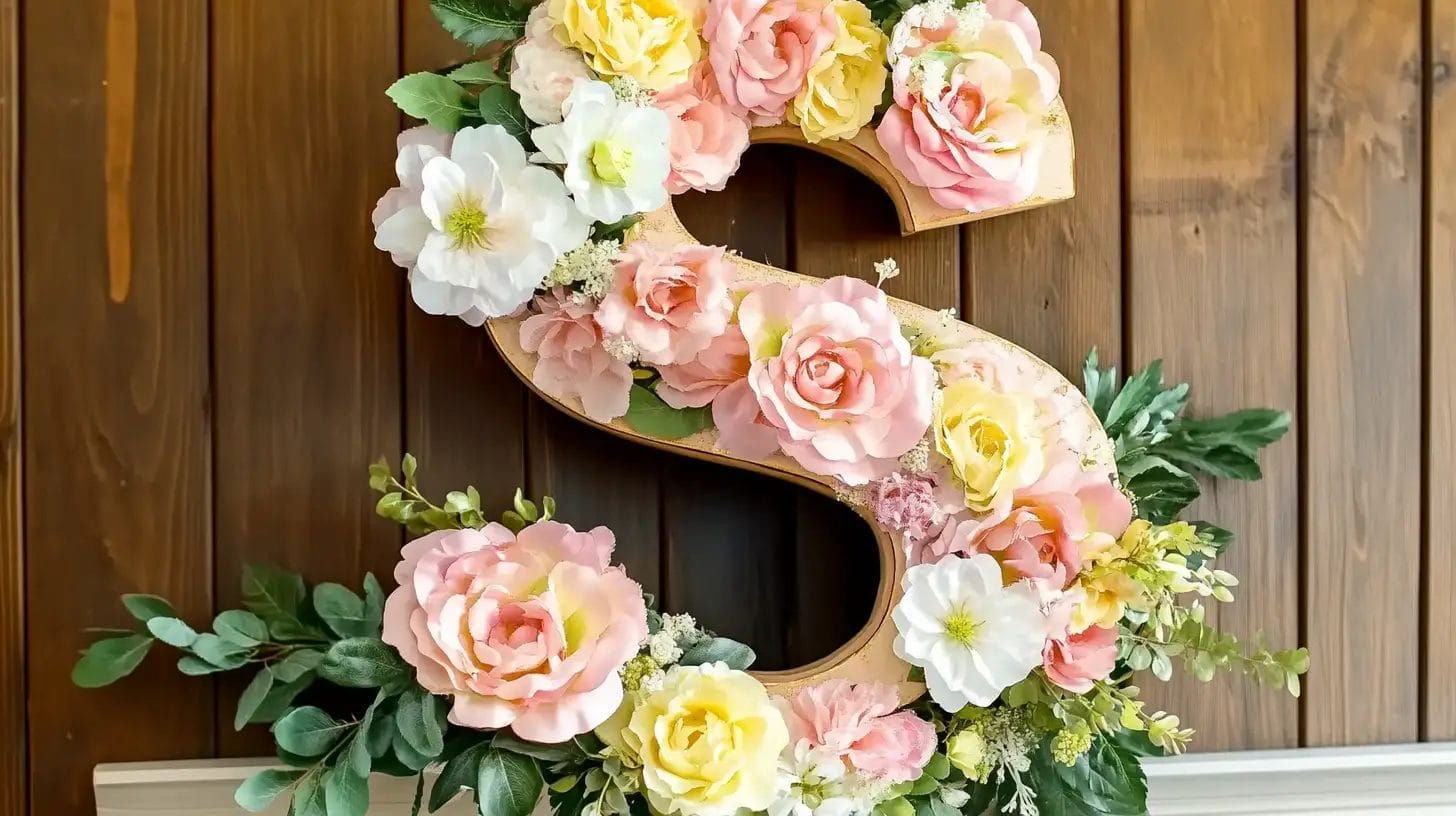
Incorporating greenery into your wooden letter decor can infuse a fresh, natural vibe into your space.
Attach faux plants or preserved moss to your wooden letters for a natural look without maintenance. Wrap vines or place small succulents to add dimension.
For a dramatic touch, create a floral arrangement by gluing or tying small flowers and leaves around the letters.
8. Shells and Stones
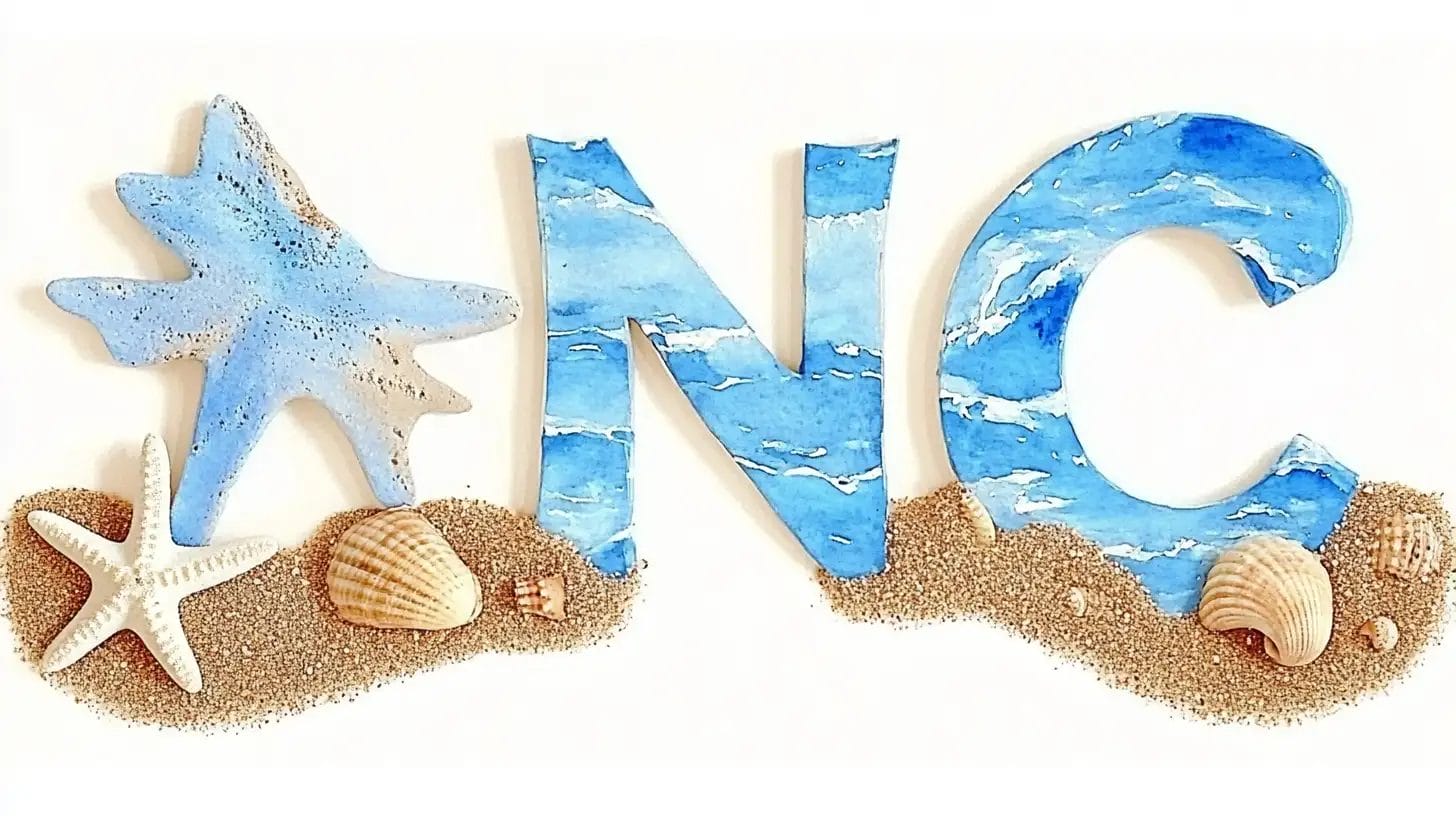
Using shells and stones to decorate wooden letters can bring a touch of coastal charm or natural elegance to your decor.
Start by cleaning and drying your shells and stones. Use a strong adhesive to secure them onto the letters. Arrange them in patterns that enhance the letter shapes.
Finish by sealing with Mod Podge to protect and add a glossy shine.
9. Yarn Wrapping
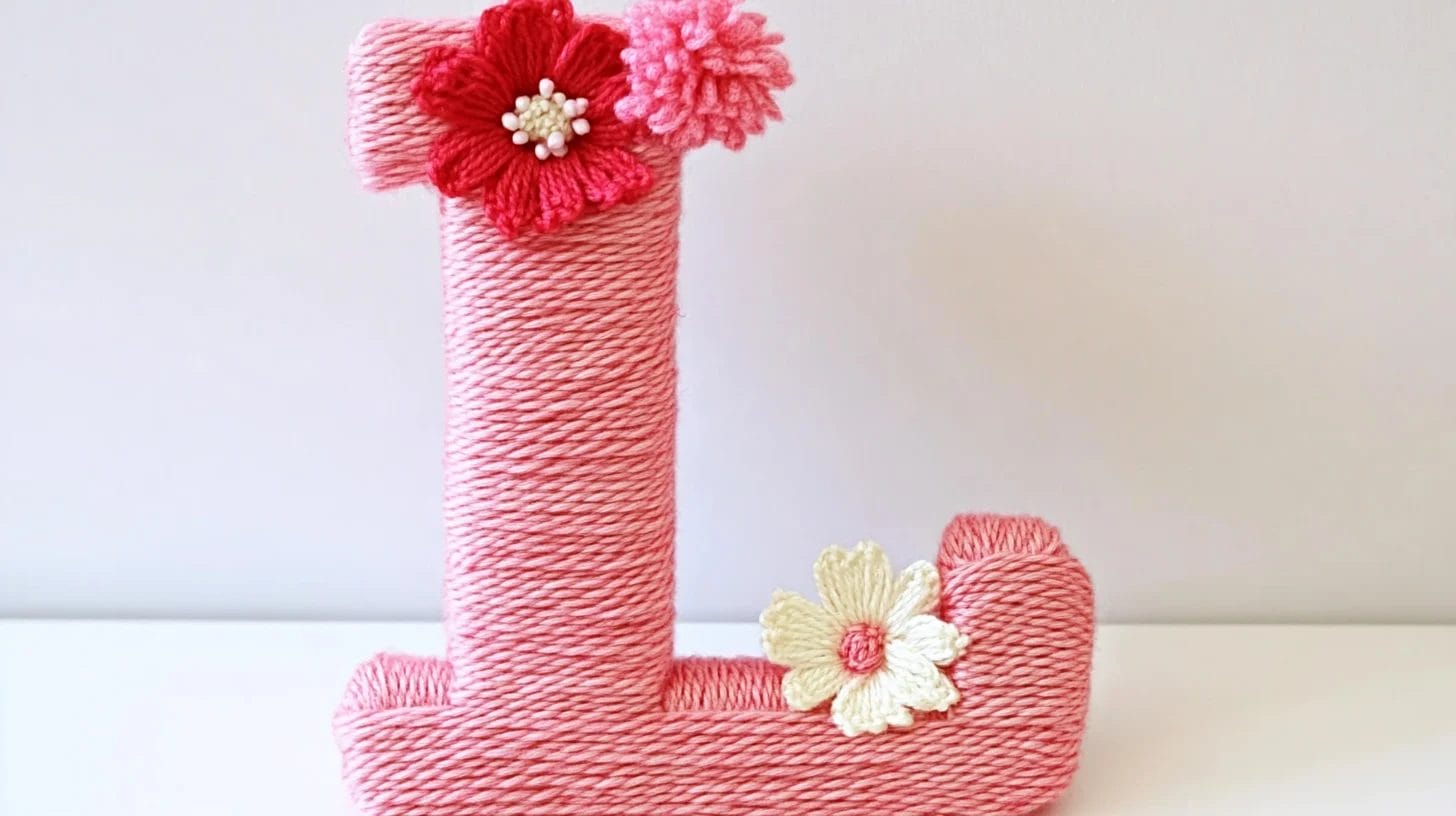
After exploring the shells and stones, yarn wrapping offers a cozy and colorful way to decorate wooden letters.
Begin by selecting your wood letters and various yarn colors. Cut the yarn into 12-18 inch lengths.
Wrap the yarn tightly around the letters, securing them with glue as needed. Experiment with ombre or layered colors.
Finish by trimming and gluing the ends. Enjoy your vibrant project!
10. Washi Tape
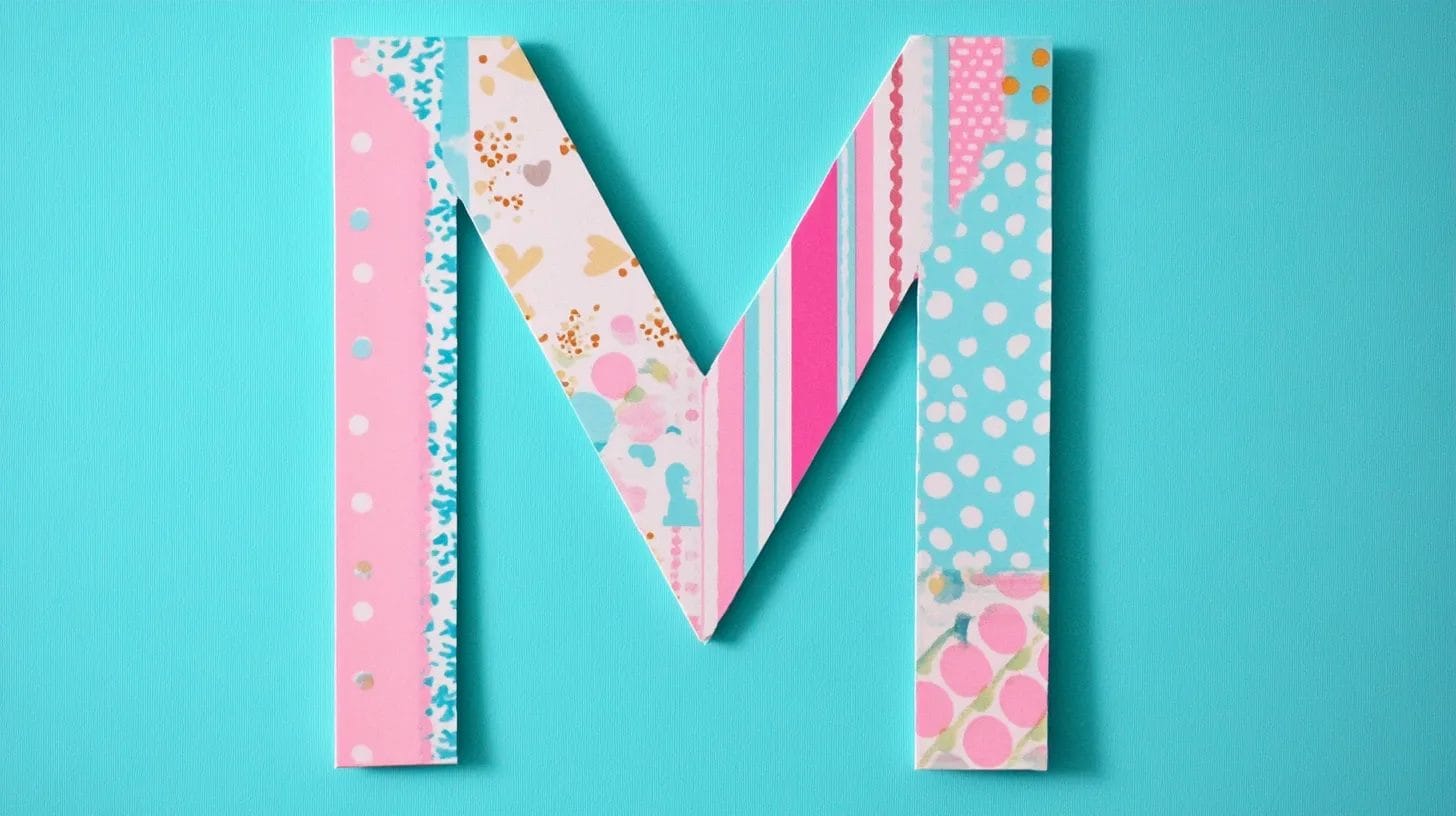
Sprucing up your wooden letters with washi tape is a simple and fun way to add a splash of color and pattern.
To decorate wood letters, cut strips of washi tape and adhere them smoothly. This beginner-friendly method lets you layer or combine tapes for a personalized touch.
For durability, seal the design with Mod Podge or a clear sealant.
11. Photo Collage
Creating a photo collage on wooden letters is a fantastic way to customize your decor with cherished memories.
Start by selecting and cutting personal photos to fit the letter. Use Mod Podge to glue each piece, ensuring they don’t overlap excessively.
Seal the collage with a final layer of Mod Podge. To further decorate your wooden letters, add embellishments like stickers or washi tape.
12. Glitter, Sequins and Rhinestones
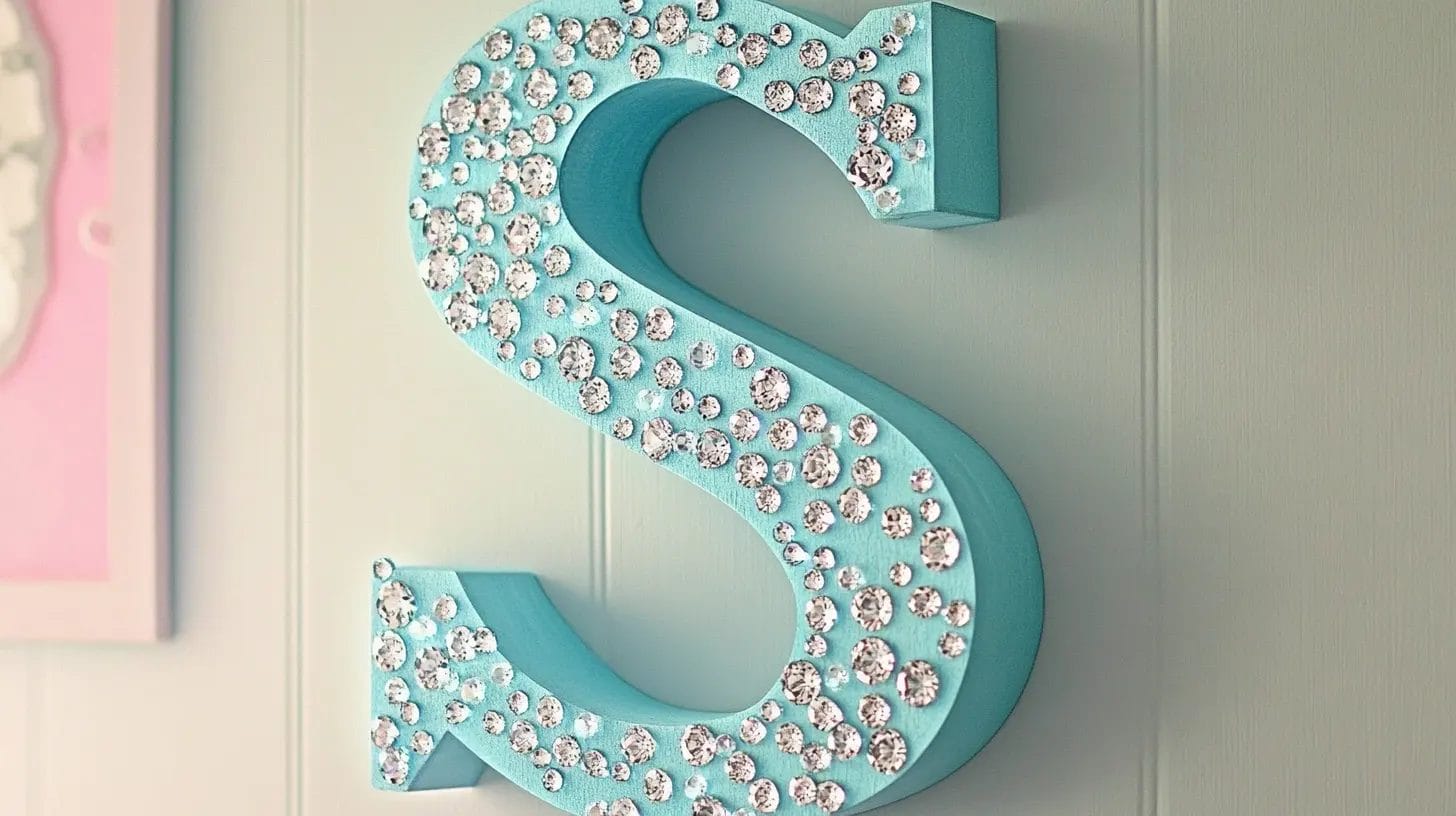
Adding glitter, sequins, or rhinestones can instantly elevate the visual appeal, creating a glamorous, eye-catching look.
Start by applying a layer of glue to your wooden letter, then sprinkle glitter or sequins over the adhesive. Use a small chip paintbrush for even coverage.
Once decorated, seal the design with a water-based top coat to prevent flaking and ensure durability.
13. Beads and Buttons
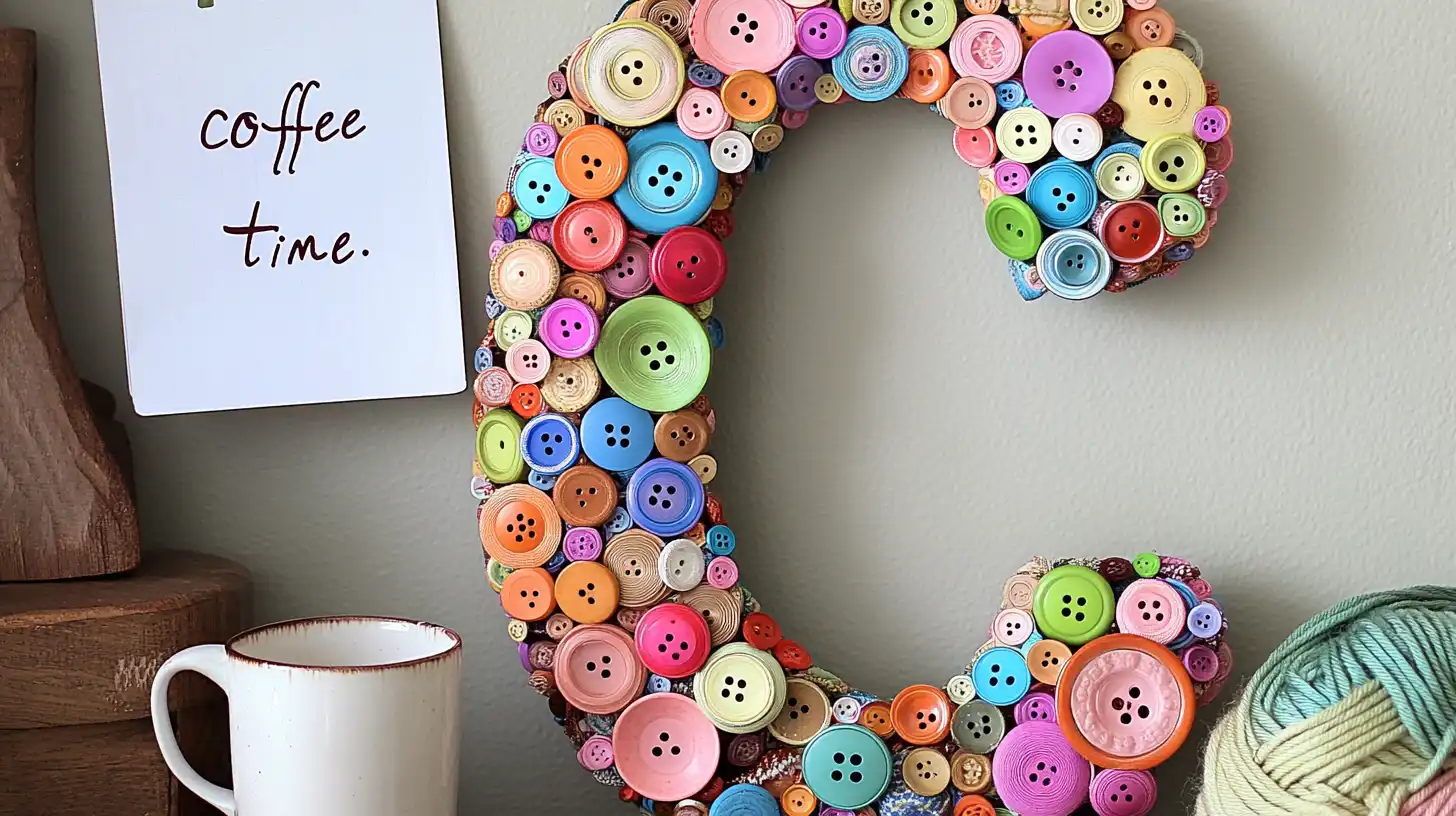
Using beads and buttons to decorate wooden letters can bring a vibrant, textured element to your designs, making them stand out beautifully.
Arrange buttons in clusters or lines and glue strings of beads along the edges for added visual interest. Choose colors that match your decor, and use a strong adhesive to ensure the beads and buttons stay securely on your decorative letters.
14. Ribbons and Twine
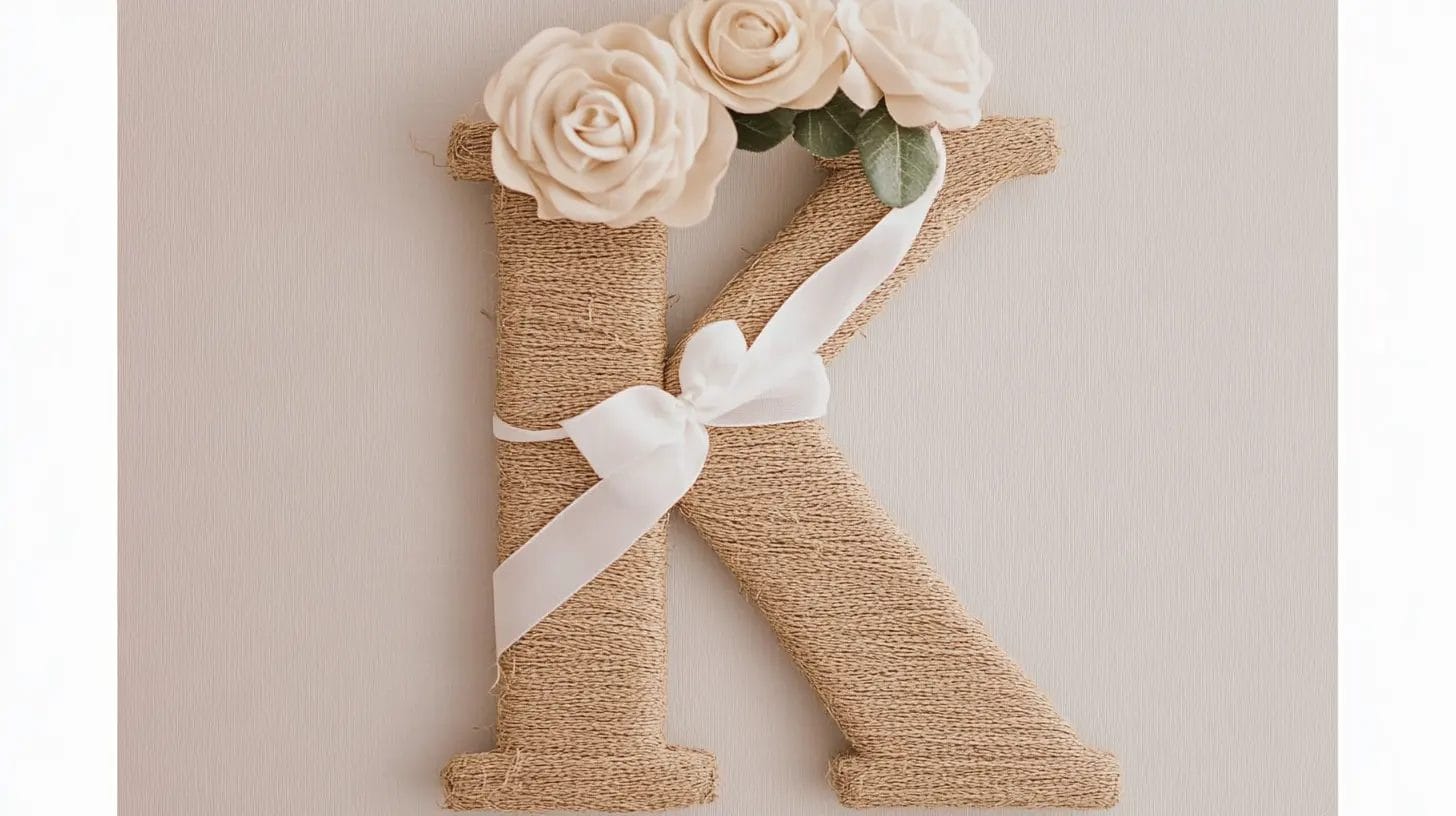
Wrapping wooden letters with ribbons and twine instantly adds texture and personalized touch to your decor.
Choose ribbons in various widths and colors to layer or create bows. Twine, like jute or hemp, offers a rustic look.
Secure them with hot glue. For a stylish look, coordinate the ribbons and twine with your room’s color scheme.
15. Light Up Letters

Transform your wooden letters into eye-catching, illuminated pieces by incorporating LED string lights or battery-operated fairy lights.
Drill small holes for a professional finish and apply acrylic paint to enhance the reflective quality.
Combine light-up letters with wall art to create decorative letters that fit various themes.
Use translucent materials to diffuse light, adding a soft, inviting glow.
16. Holiday Themes
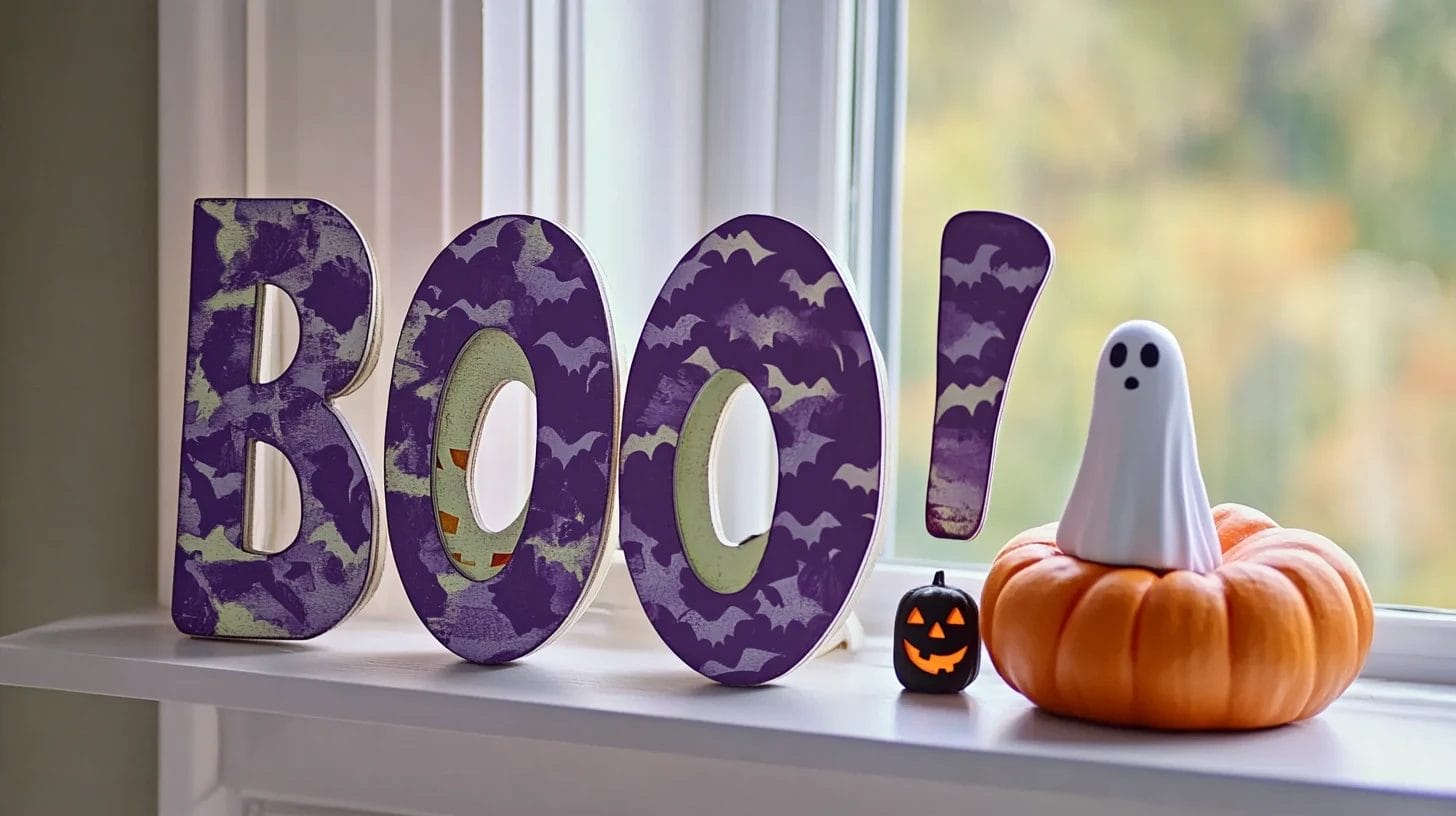
Dive into holiday themes by creating painted letters adorned with embellishments. For Halloween, use orange and black with spooky designs.
Christmas calls for red, green, and glitter. Valentine’s Day, Easter, and Thanksgiving each offer unique decor project opportunities with specific festive elements.
17. Seasonal Colors
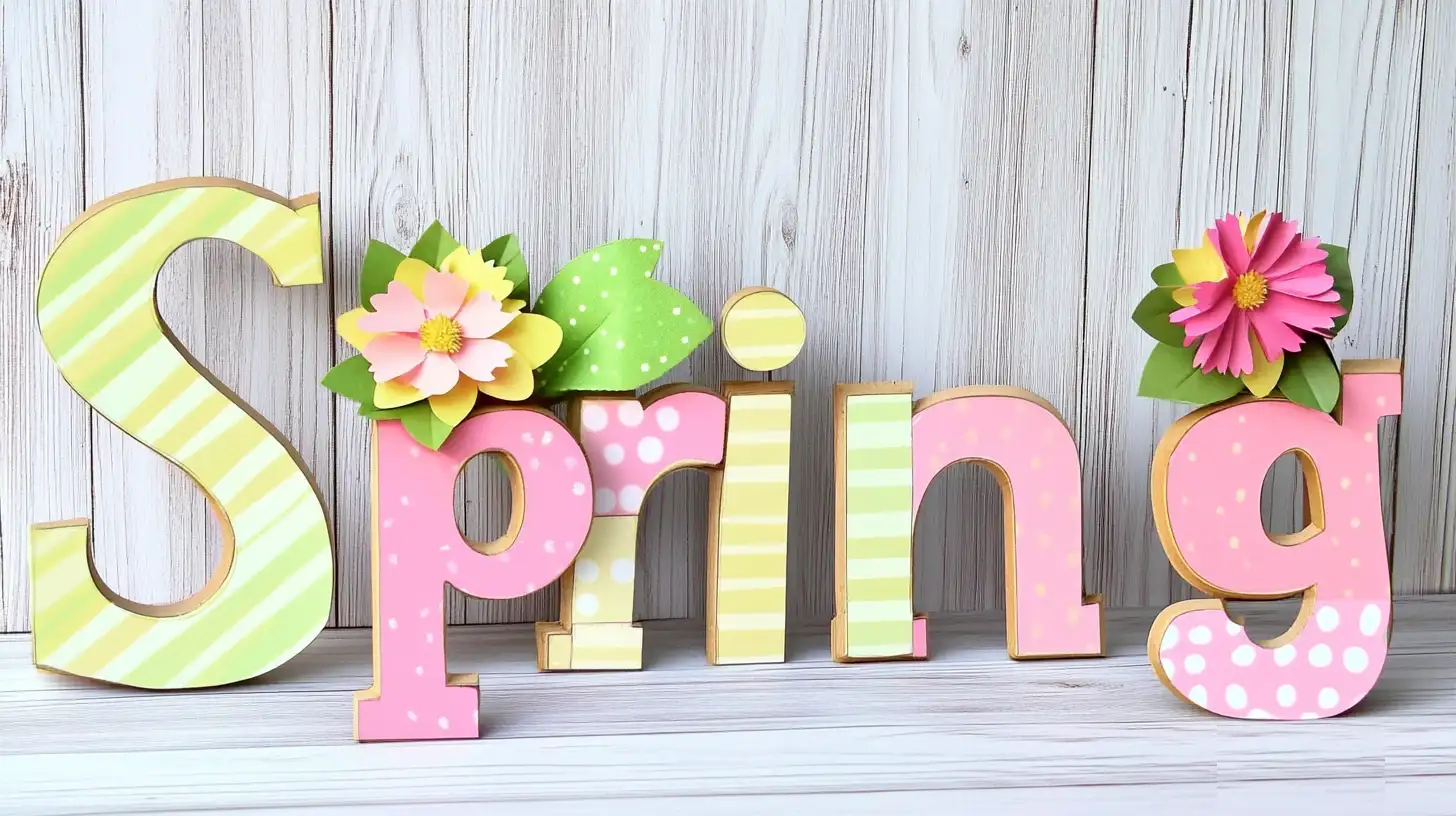
Are you seeking a way to make your wooden letters pop with seasonal charm?
Use specific colors to reflect seasons, like pastel shades for spring or deep reds for fall. Pair them with complementary colors for a cohesive look.
Try ombre effects to add depth, and don’t forget metallic accents for added festive decorations. Your letters will stand out beautifully.
Display Ideas for DIY Wooden Letters
When displaying your beautifully decorated wooden letters, let’s consider these ideas:
- Home Decor: Use wooden letters to spell out family names or inspirational quotes for wall art.
- Kids’ Rooms: Customize a kid’s room or nursery room by creating their name or initials with colorful wooden letters.
- Wedding Decor: Incorporate wooden letters in centerpieces or table signs for a rustic wedding theme.
- Seasonal Displays: Change wooden letters seasonally for festive decorations.
- Photo Props: Use wooden letters for photo booths at events or parties.
- Gift Tags: Attach small wooden letters to gifts for a personal touch.
- Learning Tools: Use them for educational purposes, helping young children learn the alphabet.
- Garden Labels: Create labels for plants or herbs using weatherproof wooden letters.
- Business Signage: Use wooden letters for shop signs or to display business names.
- Event Signage: Use wooden letters to guide guests at events.
Conclusion
You’ve got all the tools to make your custom wooden letters stand out. Your creativity will shine through whether you choose bold, solid colors, intricate stenciling, or festive holiday themes.
Don’t forget to experiment with fabric, decoupage, or even lighting for that extra special touch.
Dive into this fun project and watch your DIY letter project come to life!
FAQs
How to Decorate a Wooden Letter?
Choose your wooden letter and a color scheme. Paint it with acrylics, wrap it with yarn, or apply decoupage. Add embellishments like beads or stencils. Experiment with textures and finishes for a personalized touch.
What Paint Do I Use on Wooden Letters?
You can use latex, acrylic, or spray paint on wooden letters. Latex is smooth and easy to clean, acrylic offers vibrant colors, and spray paint provides even coverage. Choose based on your project size and desired finish.
What Can I Use to Hang up Wooden Letters?
You can use adhesive strips or mounting putty to hang wooden letters without damaging walls. For a more permanent fix, small nails or screws work well. Command hooks and magnetic strips offer flexible and secure options, too.
How Do I Neatly Paint Letters on Wood?
To neatly paint letters on wood, use high-quality latex paint with a small, angled brush for details. Apply 2-3 light coats, letting each dry completely. Use painter’s tape for clean lines and seal with a water-based top coat.


